ASP.NET is an Open Source server-side web application framework developed by Microsoft designed for programmers to create dynamic web pages.
While ASP.NET framework is widely used in conjunction with Windows IIS Web Server, an alternative for deploying ASP.NET applications exists on Linux distributions too and is represented by the Mono Project along with its mod_mono module specially designed to handle ASP.NET pages with Apache Web server.
This tutorial will guide you on how you can install ASP.NET framework with Apache and ModMono module on Ubuntu Server Edition and create a simple ASP.NET application to test the server environment.
STEP ONE – Install Apache Mod_Mono Module
1. In order for Apache to handle ASP.NET applications on Ubuntu, first you need to install the ModMono Apache libraries and modules by executing the following command:
sudo apt-get install libapache2-mod-mono
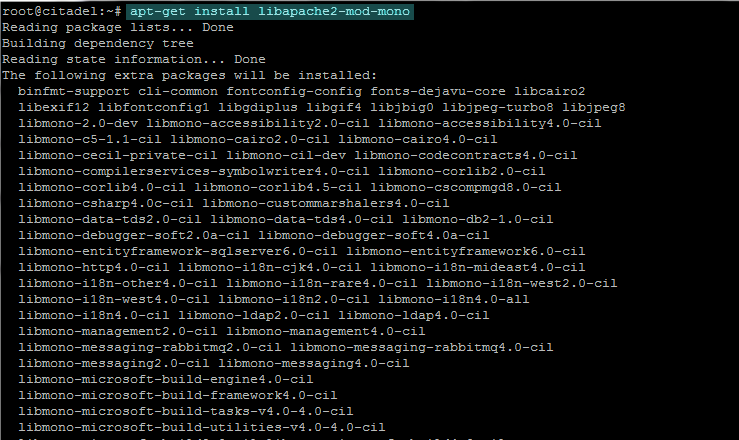
install apache mod_mono
Usually ModMono comes with dozens of libraries and pre-compliled packages for Ubuntu, more than 200 packages, so you need to assure that your system has enough disk space on root partiton before accepting and continuing with the installation.
2. After the installation of Apache ModMono has finished, issue the following commands in order to activate ModMono module (usually the module is activated during the installation).
sudo a2enmod mod_mono_auto mod_mono
sudo service apache2 stop
sudo service apache2 start
STEP TWO – Change ASP.NET mod-nono-server Configuration File
The Mod-Mono-Server is an external program that processes and handles all the ASP.NET applications requests sent by Apache, using a Mono virtual machine which establishes the connection between Apache and Mod-Mono-Server using a TCP or a Unix socket.
3. First we need to find out what version of the Mod-Mono-Server is actually running on our system and where is located. Usually, Ubuntu 12.04.2 comes with the mod-mono-server4.exe version but we still need to find out the mod-mono-server4.exe binary location through the filesystem. So, issue the following command in order to locate mod-mono-server4.exe system path:
sudo find / -name mod-mono-server4.exe
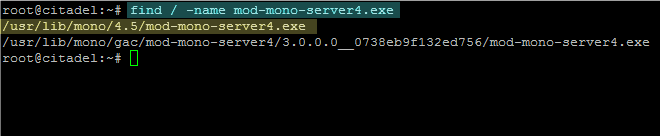
locate mod-mono-server4 system path
4. After we have located mod-mono-server4.exe system path on /usr/lib/mono/4.5/ directory, we need to keep in mind this system path and further locate the mod-mono-server4 executable binary command path by running the below command:
whereis mod-mono-server4.exe
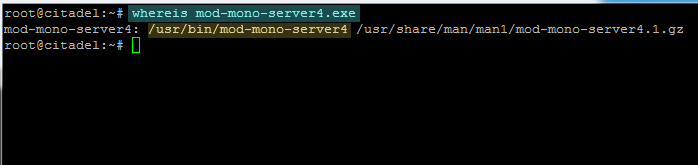
locate mod-mono-server4 executable command
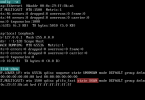
Form the output of whereis command we now know that the executable command for mod-mono-server4 is /usr/bin/mod-mono-server4 so we can now test the Mono-Server:
/usr/bin/mod-mono-server4
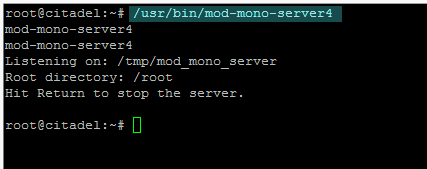
test mod-mono-server4
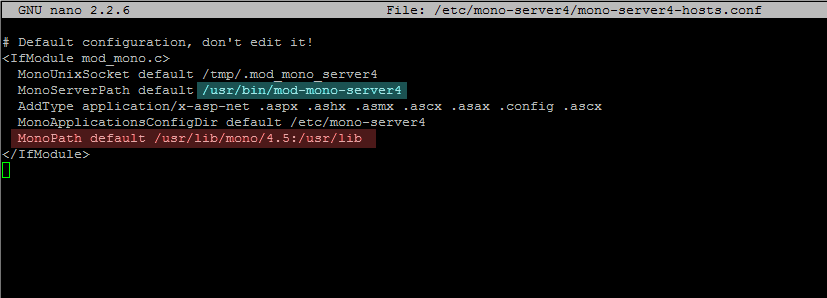
5. Now that we know mod-mono-server4 server system path and Mono libraries filesystem location, we need to edit the Mono-Server Applications configuration file from /etc/mono-server4/ directory by issuing the following command to open the mono-server4-hosts.conf file for editing:
sudo nano /etc/mono-server4/mono-server4-hosts.conf
Here change the following statements variables to match mod-mono-server4 values for server and libraries paths found previously:
MonoServerPath default /usr/bin/mod-mono-server4
MonoPath default /usr/lib/mono/4.5:/usr/lib
mono-server4 configuration file
An excerpt on how the entire file should look like is presented below:
<IfModule mod_mono.c>
  MonoUnixSocket default /tmp/.mod_mono_server4
  MonoServerPath default /usr/bin/mod-mono-server4
  AddType application/x-asp-net .aspx .ashx .asmx .ascx .asax .config .ascx
  MonoApplicationsConfigDir default /etc/mono-server4
  MonoPath default /usr/lib/mono/4.5:/usr/lib
</IfModule>
STEP THREE – Create an Apache Vhost to Handle an ASP.NET Application
6. Now we are going to create a Virtual Host for Apache Web Server that will handle our ASP.NET application based on a domain name. Before creating the Virtual Host, first assure that your DNS resolution is correctly configured through a DNS server or local hosts file in order for Apache to serve all the requests based on domain names. On this guide the domain name used for Apache Virtual Host to process ASP.NET webpages is asp.lan.
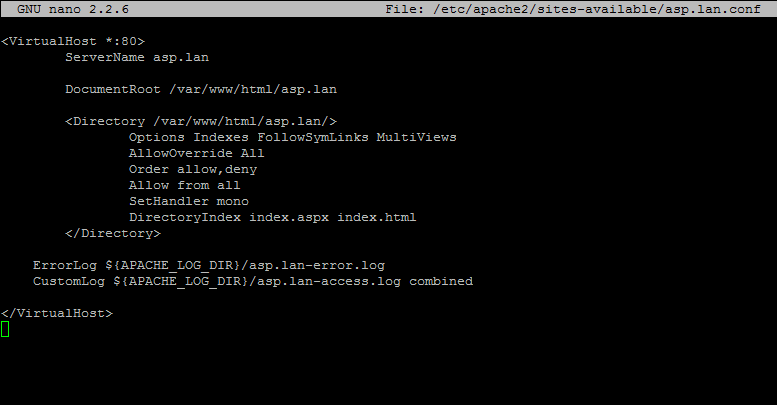
So, create an Apache Virtual Host configuration file named asp.lan.conf on /etc/apache2/sites-available/ directory with the following configurations:
sudo nano /etc/apache2/sites-available/asp.lan.conf
asp.lan.conf file excerpt
<VirtualHost *:80>
        ServerName asp.lan

        DocumentRoot /var/www/html/asp.lan

        <Directory /var/www/html/asp.lan/>
                Options Indexes FollowSymLinks MultiViews
                AllowOverride All
                Order allow,deny
                Allow from all
                SetHandler mono
                DirectoryIndex index.aspx index.html
        </Directory>

    ErrorLog ${APACHE_LOG_DIR}/asp.lan-error.log
    CustomLog ${APACHE_LOG_DIR}/asp.lan-access.log combined

</VirtualHost>
asp.net apache vhost
Here replace ServerName, DocumentRoot, Directory and Logs directives to match your configurations and paths accordingly. In case you have changed the DocumentRoot location issue a mkdir command to create the new custom webroot directory which will host your ASP.NET web files.
sudo mkdir -p /var/www/html/asp.lan
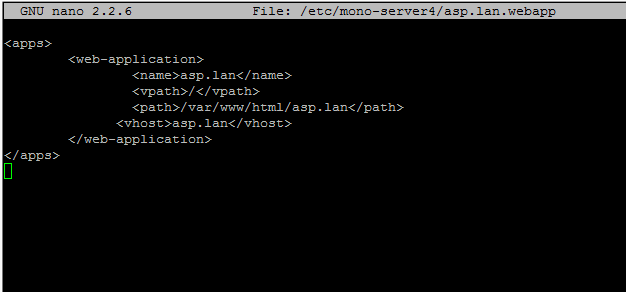
7. Next, we need to create an ASP.NET .webapp configuration file for Mono-Server that will actually process and handle the ASP application. This configuration file must be created on /etc/mono-server4/ directory. Execute the following command to create the webapp file for our ASP.NET Apache Virtual Host with the following configurations:
sudo nano /etc/mono-server4/asp.net.webapp
asp.net.webapp file excerpt
<apps>
        <web-application>
                <name>asp.lan</name>
                <vpath>/</vpath>
                <path>/var/www/html/asp.lan</path>
              <vhost>asp.lan</vhost>
        </web-application>
</apps>
asp.net webapp file
Here, use the name of your domain for the webapp <name> and <vhost> directives and change the <path> directive to match the location of your ASP.NET web files (usually the same path as found on Apache DocumentRoot directive).
STEP FOUR – Create an ASP.NET Test Application
8. To test if the server is actually working, first create a web index file with an .aspx extension on your domain webroot as in the following example:
sudo nano /var/www/html/asp.lan/index.aspx
index.aspx file excerpt:
<%@ Page Language="C#" %>
<!DOCTYPE html PUBLIC "-//W3C//DTD XHTML 1.0 Strict//EN" "http://www.w3.org/TR/xhtml1/DTD/xhtml1-strict.dtd">
<html>
  <head>
    <title>ASP Application test at asp.lan</title>
  </head>
  <body>
        <form id="form1" runat="server">
          <asp:label id="lbl1" runat="server">ASP Application test at asp.lan server</asp:label>
        </form>

  </body>
</html>
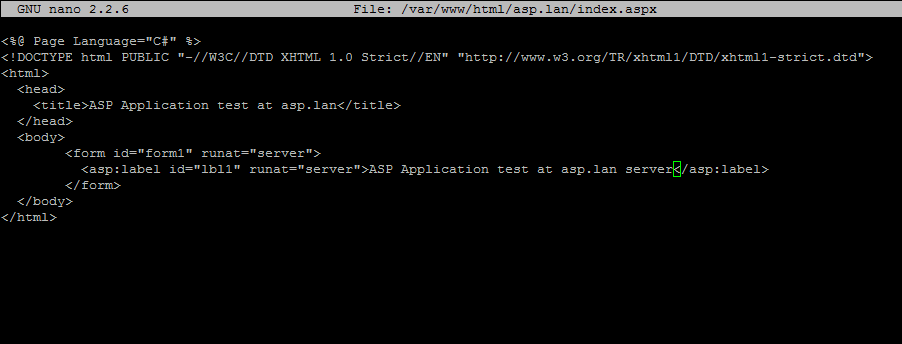
ASP.NET index file
9. Next, activate Apache asp.lan Virtual Host and restart the httpd daemon to apply changes by issuing the following commands:
sudo a2ensite asp.lan.conf
sudo service apache2 stop
sudo service apache2 start
Don’t use the service apache2 restart command with ASP.NET module activated to restart the server because Apache stop command usually takes some extra time while closing all the mod_mono module files.
10. Finally, to view your ASP.NET application, just visit your domain from a browser as presented in the screenshot below:
http://asp.lan
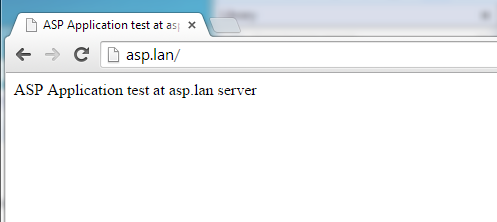
ASP.NET application
11. To create an application that will parse and show all your ASP.NET server variables, create the following var.aspx web file on your domain webroot:
sudo nano /var/www/html/asp.lan/var.aspx
var.aspx file excerpt:
<%@ Page Language="C#" %>
<!DOCTYPE html PUBLIC "-//W3C//DTD XHTML 1.0 Strict//EN" "http://www.w3.org/TR/xhtml1/DTD/xhtml1-strict.dtd">
<html>
  <head>
    <title>My ASP Server Variables</title>
  </head>
  <body>
        <form id="form1" runat="server">
          <asp:label id="lbl1" runat="server"><strong> My ASP Server Variables: </strong> </asp:label>
<%
foreach (string i in Request.ServerVariables)
{
  Response.Write("<pre>" + i + " = <strong>" + Request[i] + "</strong>");
}
%>
        </form>
  </body>
</html>
12. Then navigate to the var.aspx web resource to view the final result: http://asp.lan/var.aspx
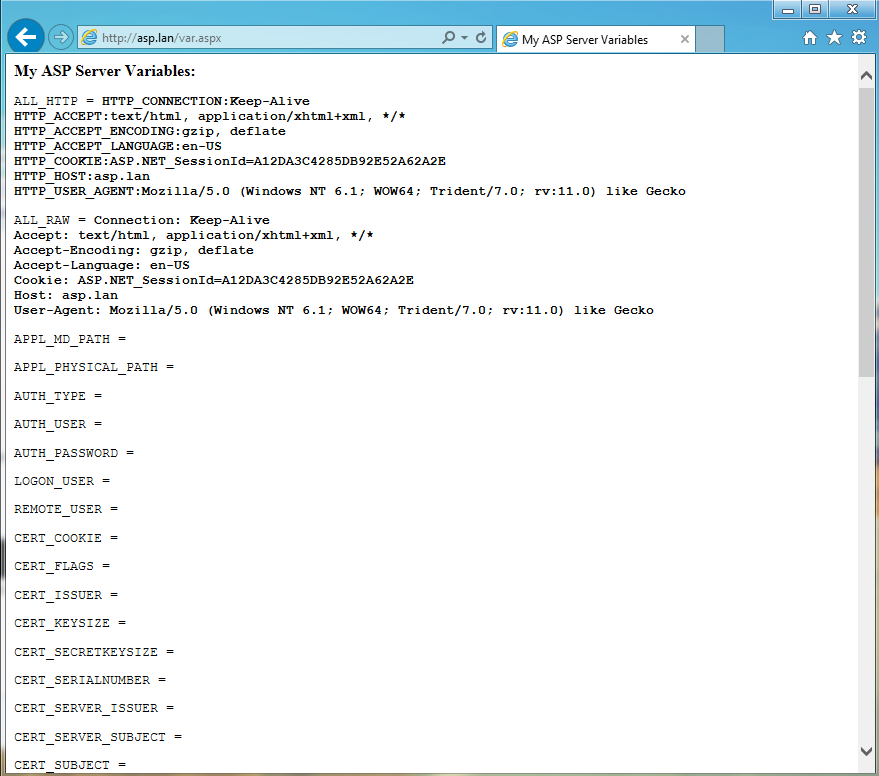
get ASP.NET server environment variables
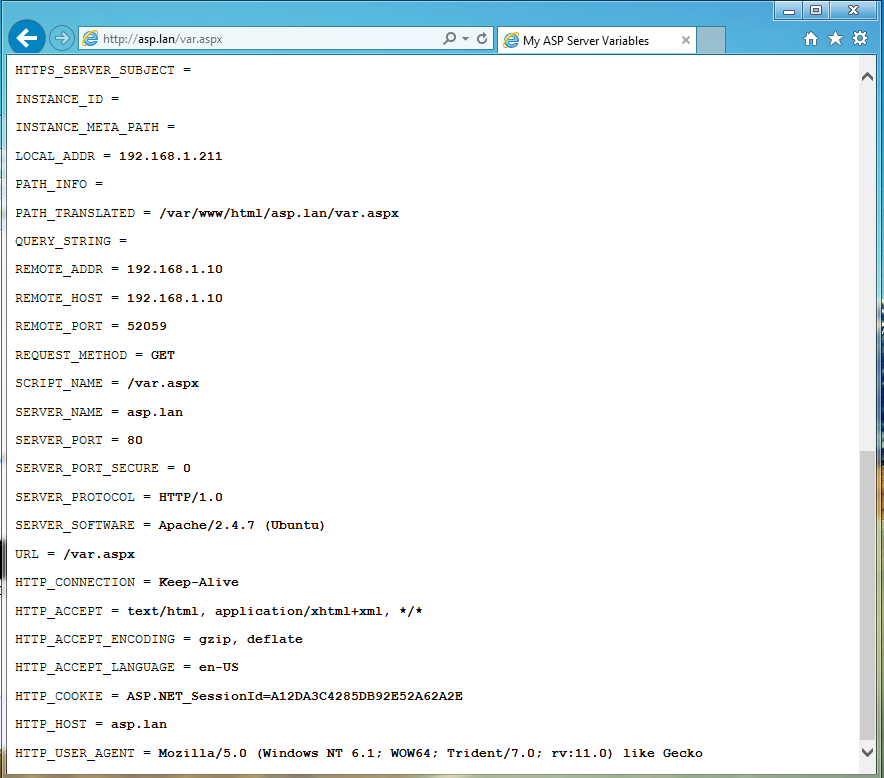
ASP.NET server environment variables
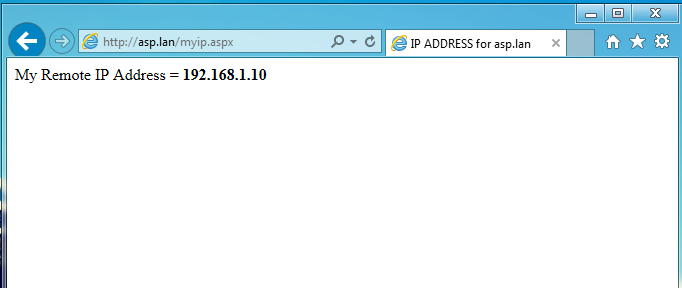
13. Another web application example that parses only your remote IP Address:
sudo nano /var/www/html/asp.lan/myip.aspx
myip.aspx file excerpt:
<%@ Page Language="C#" %>
<!DOCTYPE html PUBLIC "-//W3C//DTD XHTML 1.0 Strict//EN" "http://www.w3.org/TR/xhtml1/DTD/xhtml1-strict.dtd">
<html>
  <head>
    <title>IP ADDRESS for  asp.lan</title>
  </head>
  <body>
        <form id="form1" runat="server">
          <asp:label id="lbl1" runat="server">My Remote IP Address</asp:label>
<% Response.Write( " = <strong>" + Request.ServerVariables["remote_addr"] + "</strong>"); %>
        </form>
  </body>
</html>
.aspx file get remote IP Address
STEP FIVE – Redirect Apache Default Host to ASP.NET Application
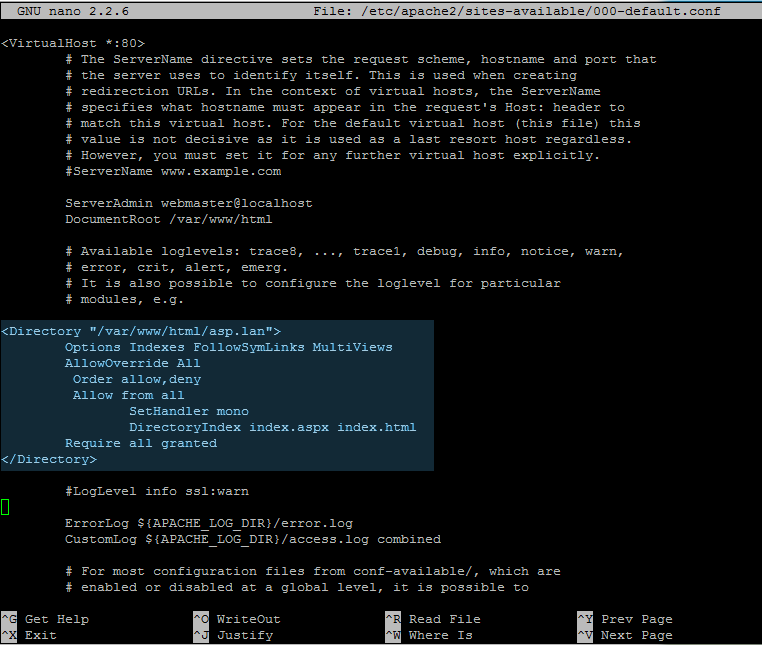
14. So far, only the valid requests matching the asp.lan domain name are directed to the ASP.NET application. If you need to redirect all the requests based on your server IP Address (Apache Default Host) or other domain or subdomain requests pointing at your server IP Address with no valid Virtual Hosts, open Apache main Virtual Host configuration file and add the following statements after the DocumentRoot directive as illustrated on the below screenshot:
sudo nano /etc/apache2/sites-available/000-default.conf
000-default.conf file configurations excerpt :
<Directory "/var/www/html/asp.lan">
	Options Indexes FollowSymLinks MultiViews
	AllowOverride All
	Order allow,deny
        Allow from all
          SetHandler mono
          DirectoryIndex index.aspx index.html
	Require all granted
</Directory>
apache vhost default conf file
15. To reflect changes, stop and start Apache daemon, then open a browser and navigate at your server’s IP Address and fetch a web resource aspx file, such as the previously created var.aspx application.
sudo service apache2 stop
sudo service apache2 start
http://192.168.1.211/var.aspx
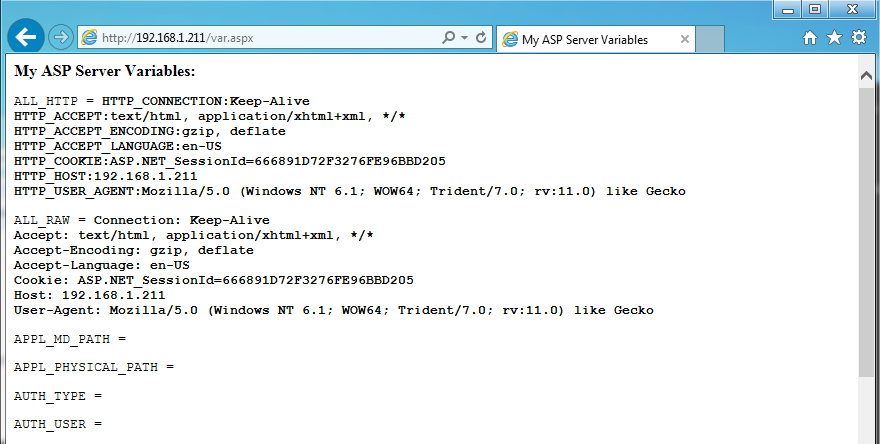
var.aspx ASP web file
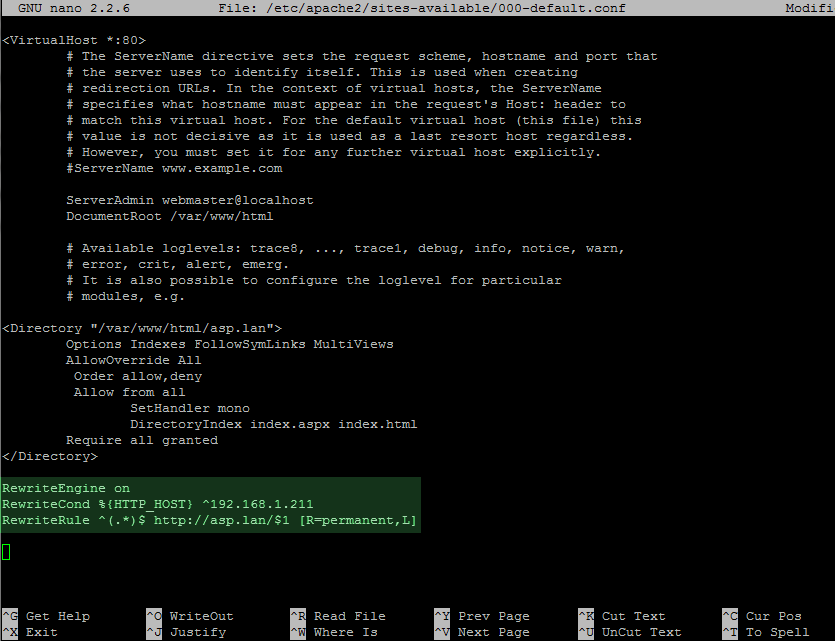
15. To redirect all requests based on your default virtual host to the domain name, just put the following redirect rules on the same file as edited above, enable the rewrite Apache module and restart Apache server to reflect changes:
RewriteEngine on
RewriteCond %{HTTP_HOST} ^192.168.1.211
RewriteRule ^(.*)$ http://asp.lan/$1 [R=permanent,L]
redirect to asp.lan domain
sudo a2enmod rewrite
sudo service apache2 stop
sudo service apache2 start
Now, every time a request comes at your Apache server, either with the asp.lan domain header or with server IP Address, Apache will redirect all to your ASP.NET application.
16. To get the ASP.NET installed version just append an resource arbitrary string after your domain name in order to generate an server error as in the below example:
http://asp.lan/a
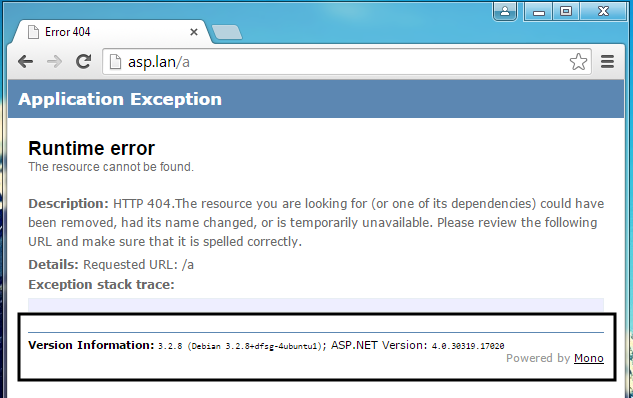
get ASP.NET version