This tutorial describes how you can install Ubuntu 18.10 Sever Edition on UEFI systems and servers using a custom partition layout with LVM slices to setup your system hard drive in order to overcome the limitations of BIOS and MBR imposed to filesystems sizes limitations.
UEFI (Unified Extensible Firmware Interface) was developed among others to support hard-disks larger than 2TB in sizes, an impossible achievement by using the traditional BIOS-MBR method, which limits the filesystem sizes to maximum 2TB and and the maximum number of primary partitions to three (with the fourth being extended). UEFI works hand-in-hand with GPT partition table on hard drives no matter of what size the hard drive has, as long as the system is booted from UEFI mode, making impossible to use MBR once the system was started in UEFI mode. You can use GPT on UEFI systems only if the system in started in BIOS Legacy Mode by tampering with UEFI settings. Also, all partitions from a GPT table layout are now primary by default and can support up to 9.4 zettabytes in sizes with a number of 128 partitions.
REQUIREMENTS
The installation process can take place by using different methods to boot-up the installer image, such as using a CD burned image of the ISO which will be placed into your machine CD/DVD drive or using a bootable USB drive that can be booted-up in UEFI mode – use Rufus to create bootable USB drive compatible with UEFI or much simple use a PXE server to boot-up the Ubuntu installer by instructing your system UEFI to use Network Boot PXE.
Install Ubuntu 18.10
1.After you have started your machine first enter in UEFI settings and select the appropriate method which you will use to boot-up the Ubuntu installer (for this guide I will use the CD method mentioned above on a virtualized UEFI system).
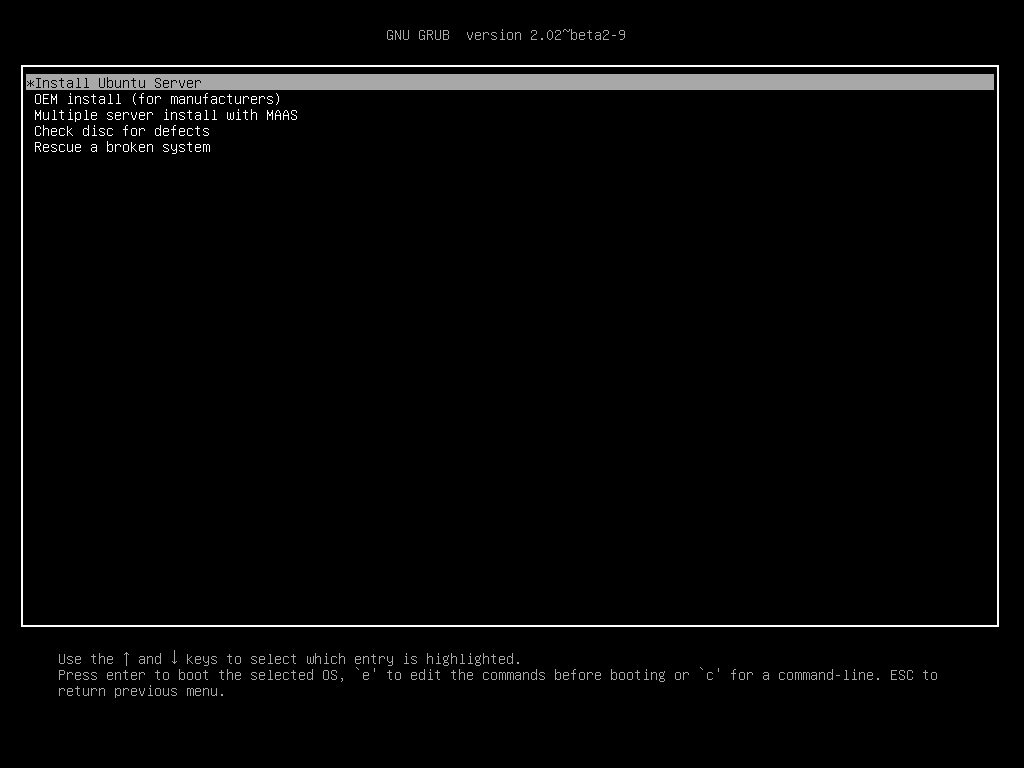
2.After UEFI has been instructed to boot the media image, the first menu should appear in order to choose an installation type. From the Grub menu, select the first option Install Ubuntu Server and hit Enter key to move forward.
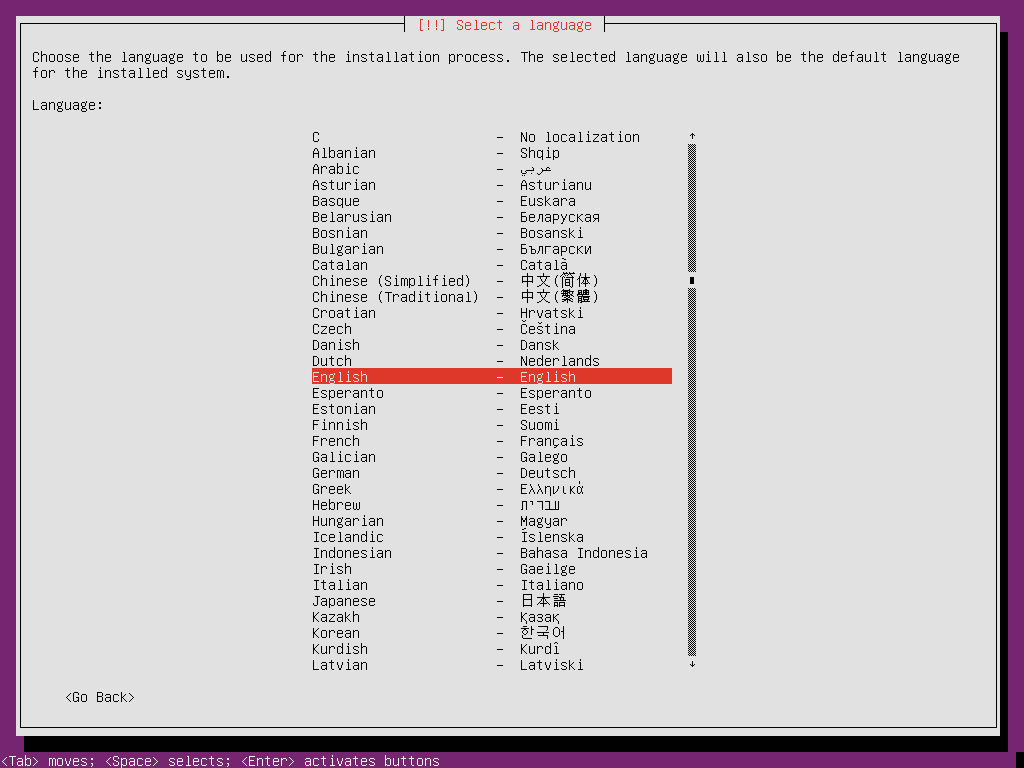
3. On the next step choose the Language that will be used for the installation process and hit Enter key again.
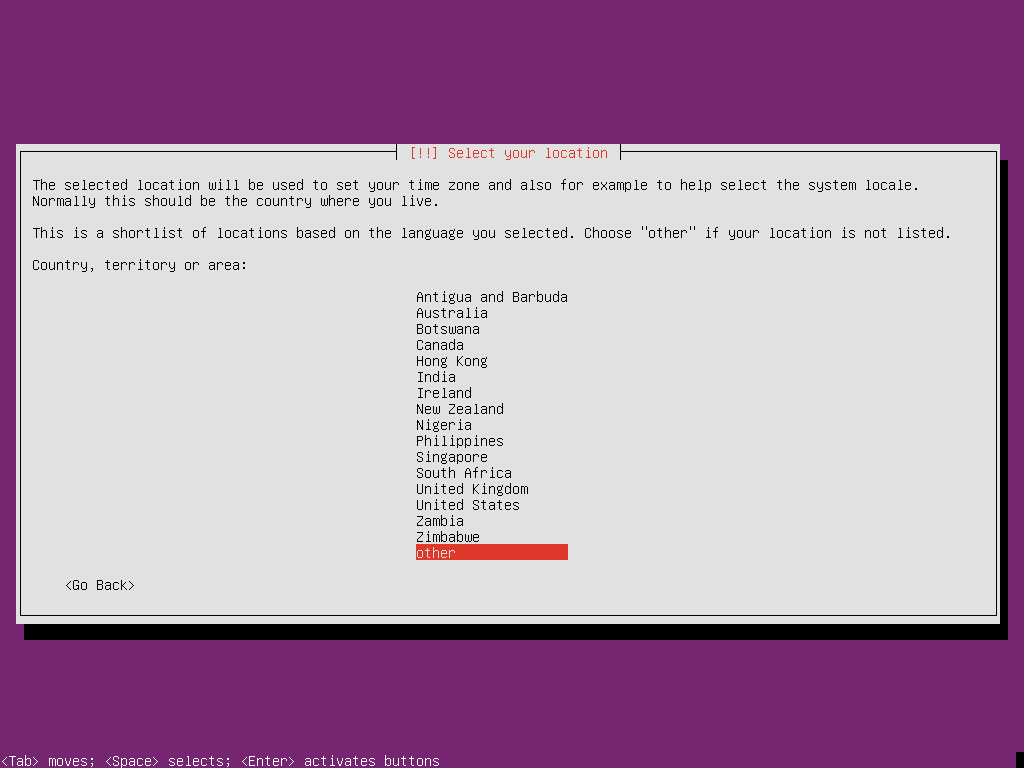
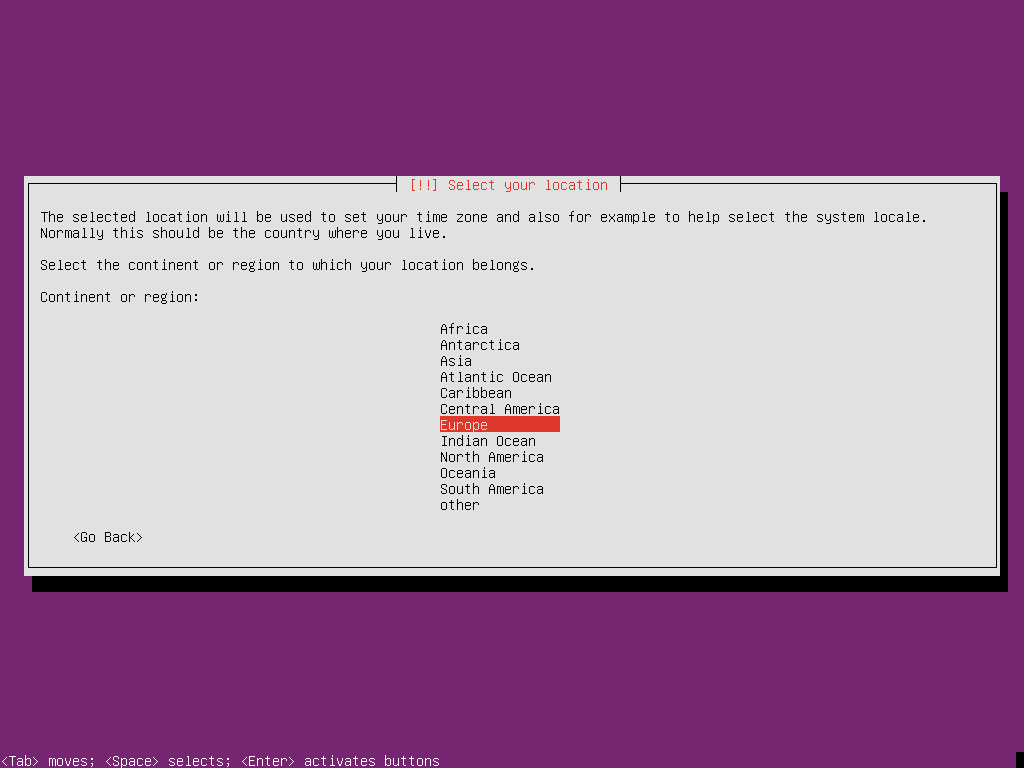
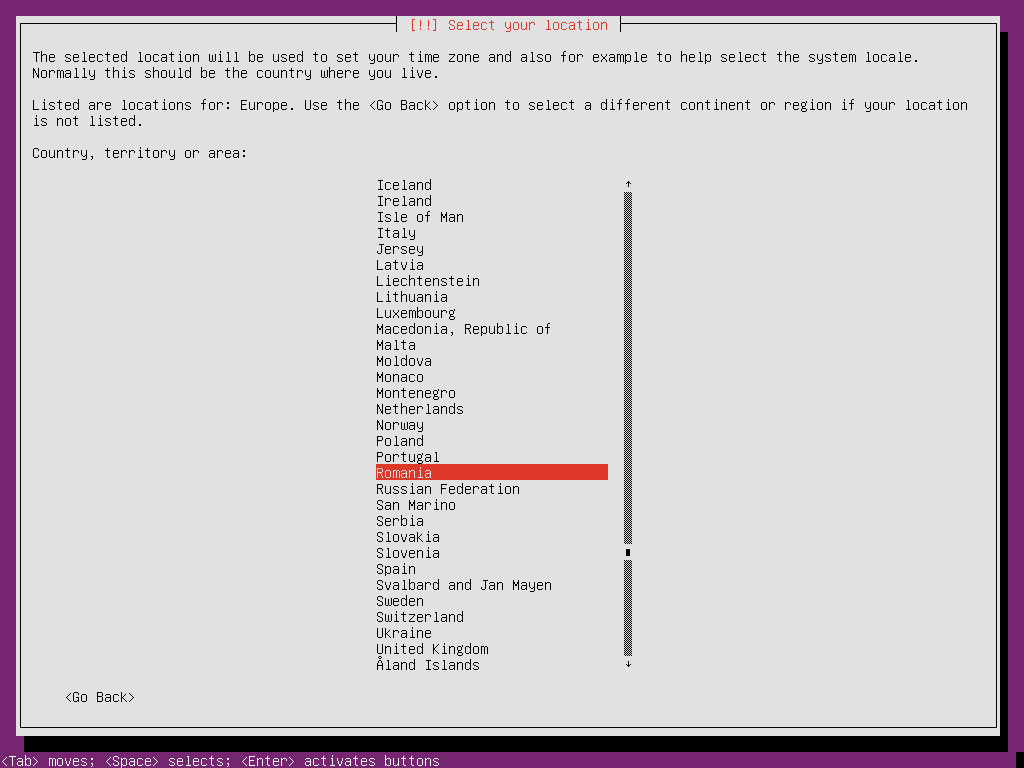
4. Next, select your location based on your physical location. If your physical location is not listed on the first screen, navigate to others, select your Continent/Region , then choose your Country and press Enter key to continue.
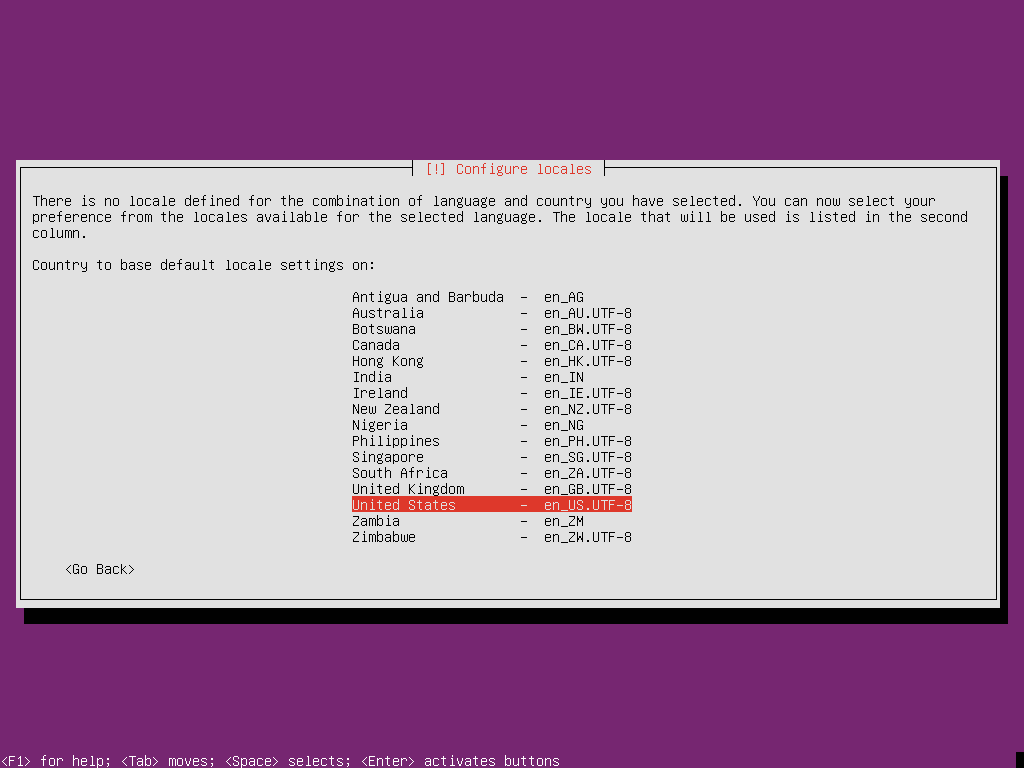
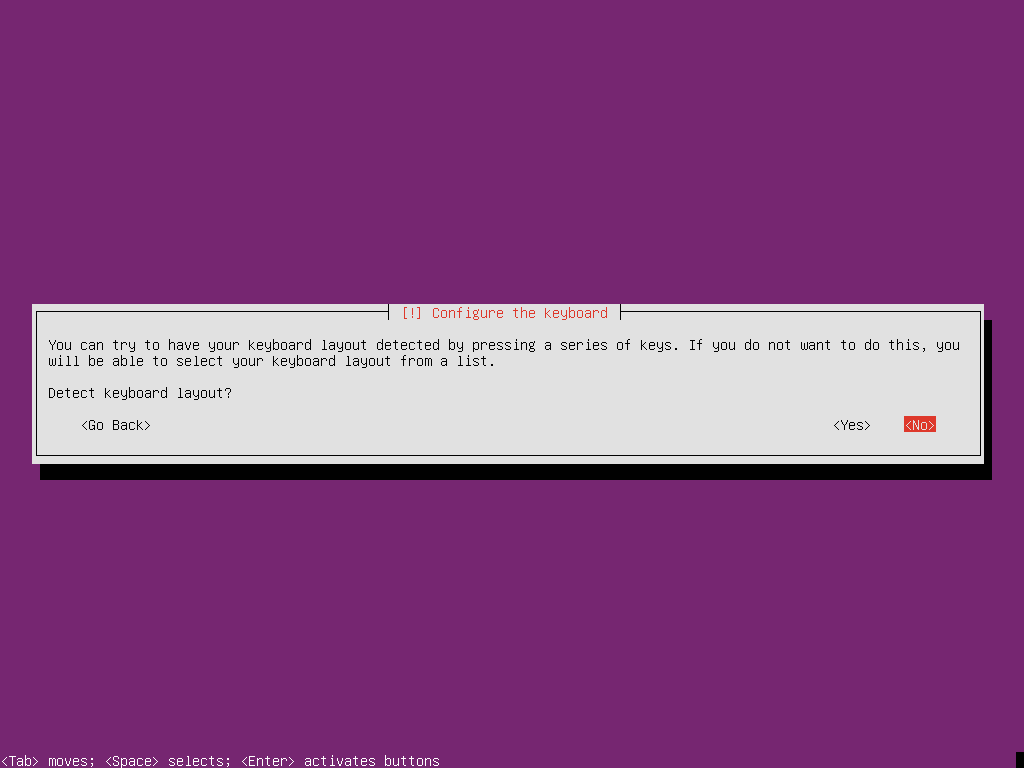
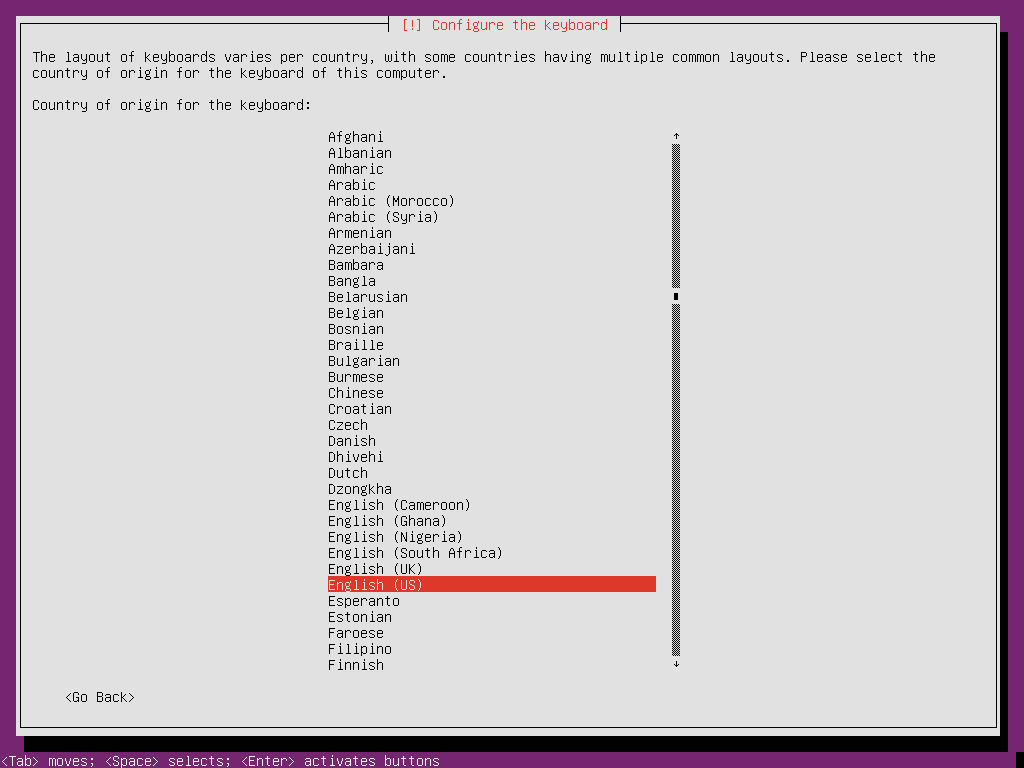
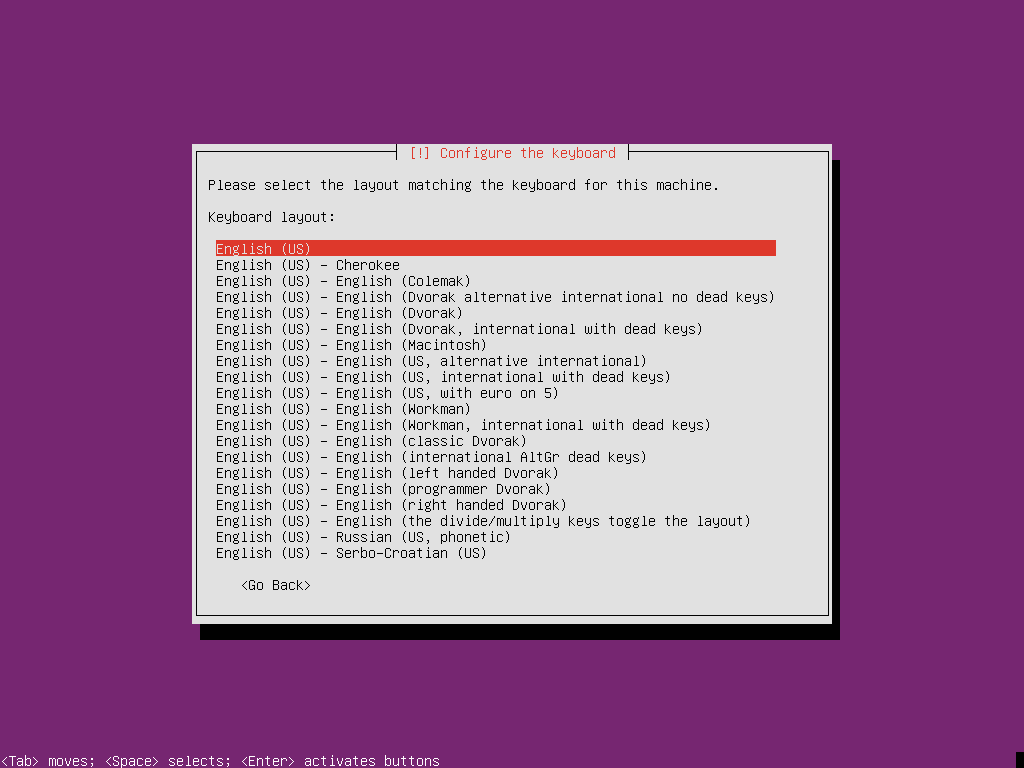
5. On the next installation option select your Locales and Configure the Keyboard with your favorite language. Hit on No to setup the keyboard manually, then choose a country keyboard – as an advise, on servers is preferably that you select English for keyboard. Use the below screenshots as a guidance to select keyboard.
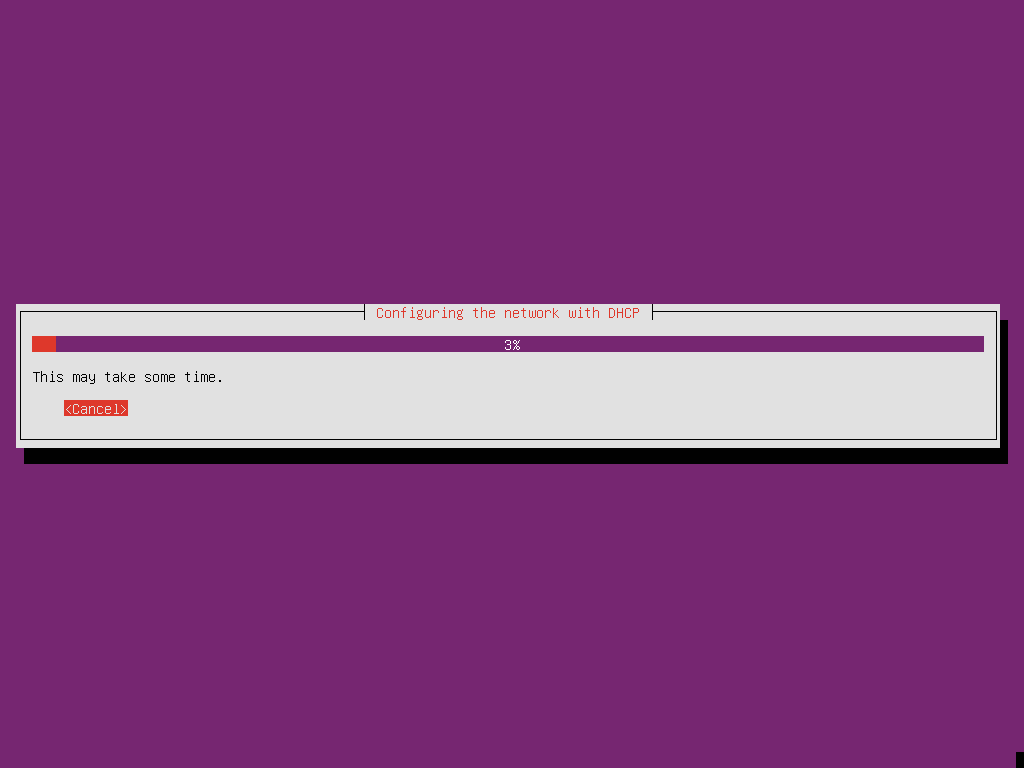
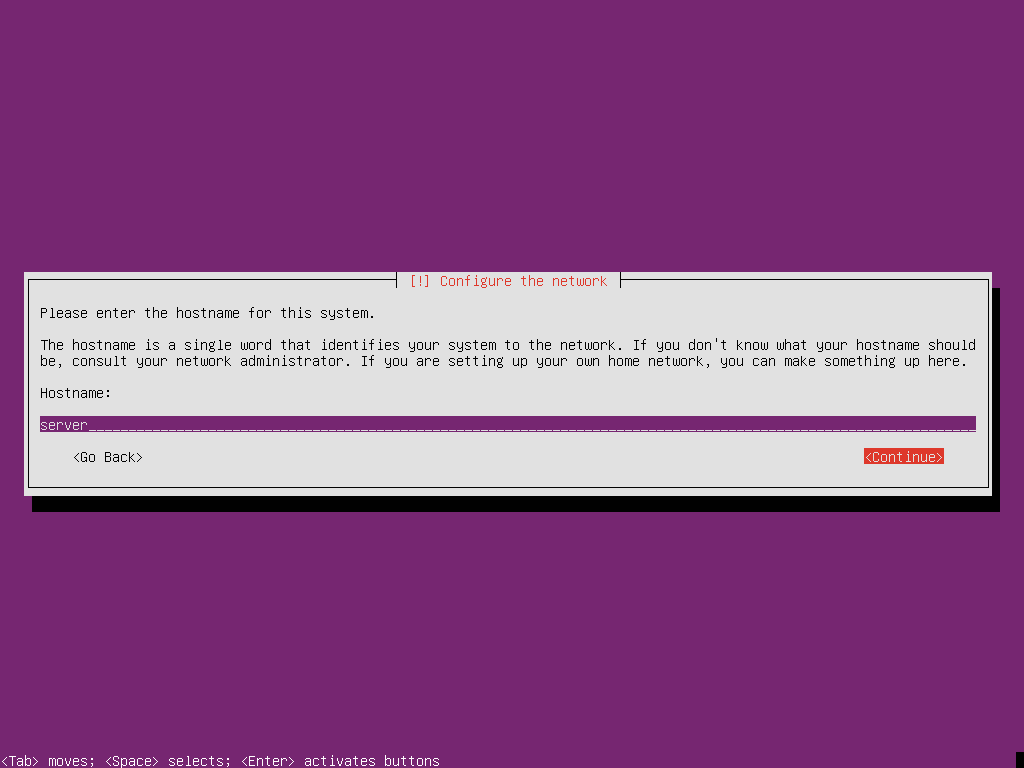
6. On the next steps the installer will load some components in order to continue with the installation process further and it will setup network using DHCP option, which will allocate an IP Address for the network interface on your behalf. If you want to configure a static IP Address on an network interface just hit Cancel and manually assign network configurations (IP, Netmask, Gateway and DNS), then hit Continue to move forward and setup your system name (hostname) – try to use a descriptive name for hostname or a FQDN (Fully qualified domain name) if your server will be used as a production server on Internet.
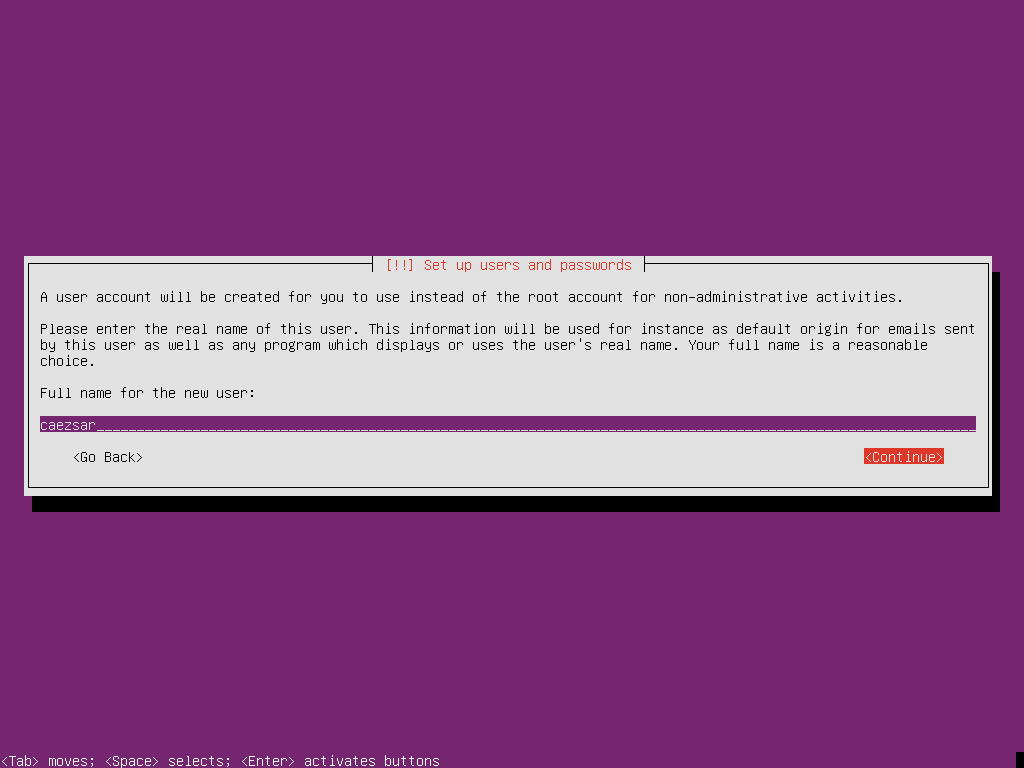
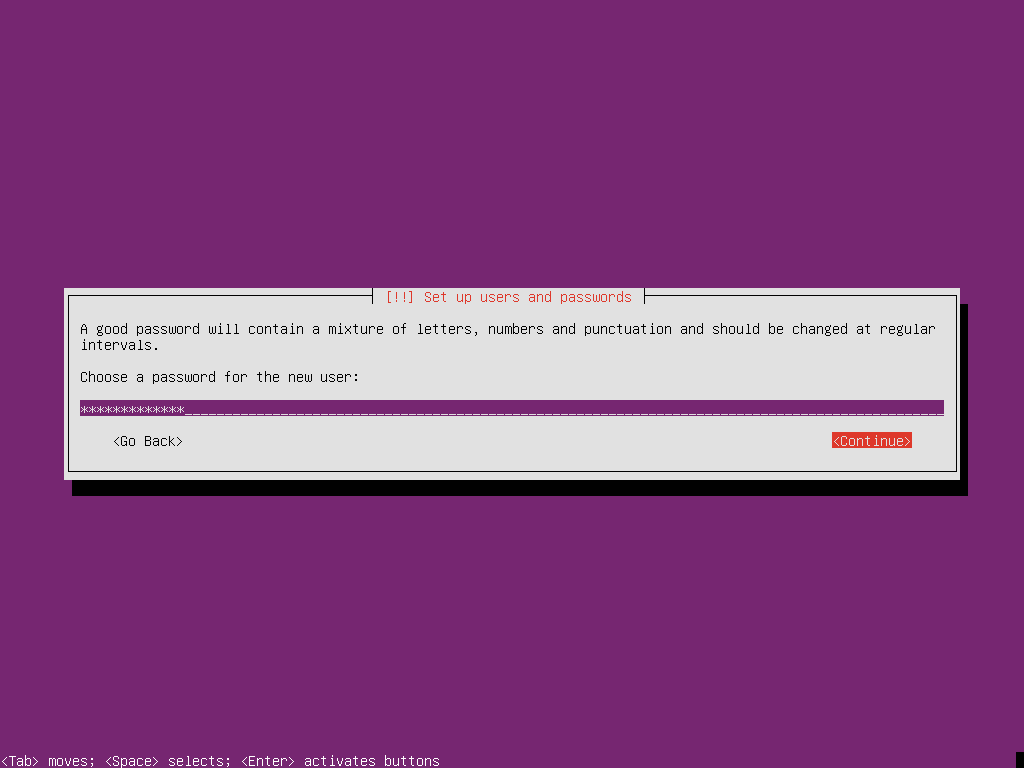
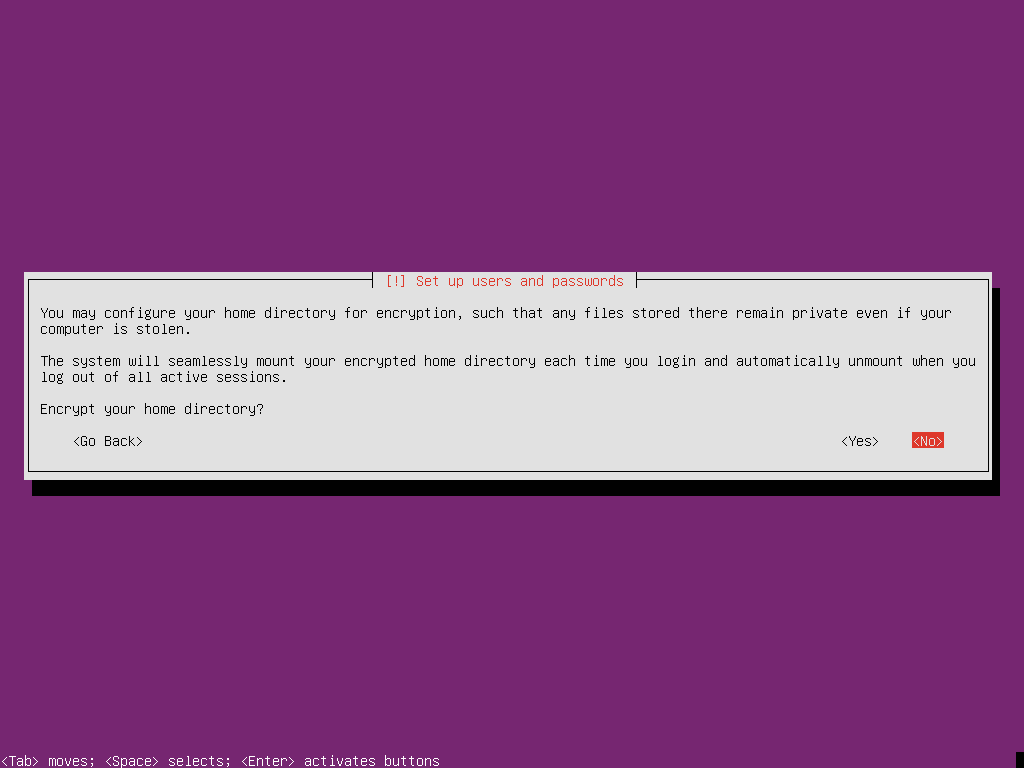
7. Next , setup a system user (which will also be your administrative user with root privileges) and choose a strong password in order to protect this account. Enter the password twice to confirm it, then select No if you don’t want that the /home partition to be encrypted.
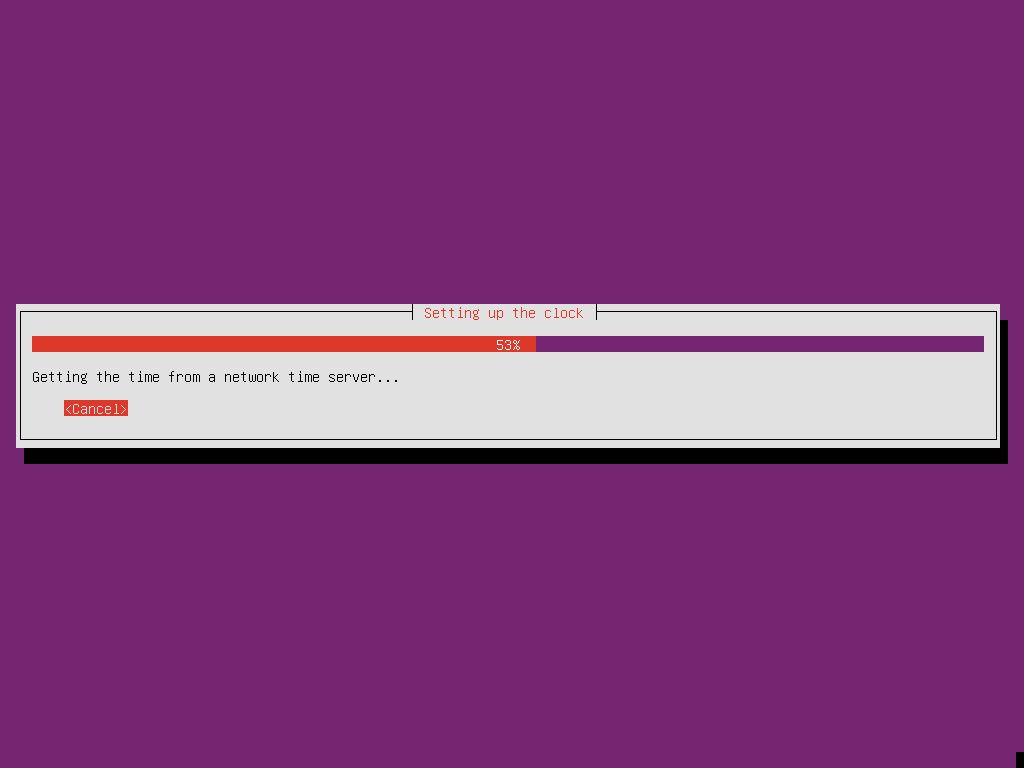
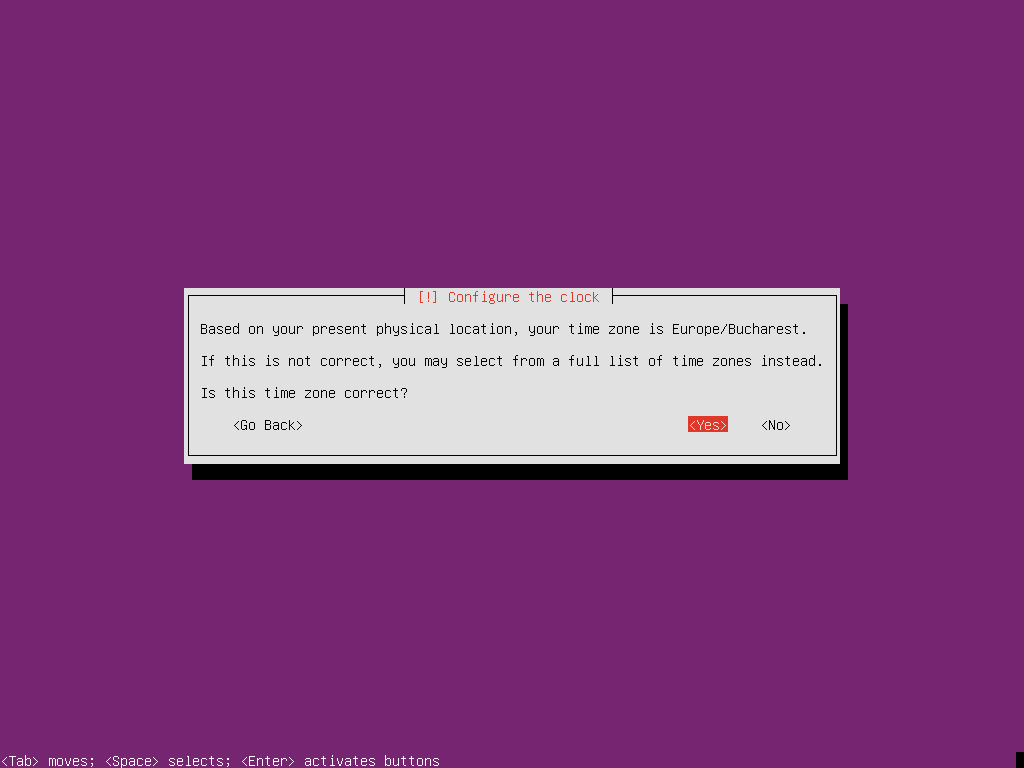
8. Now the system will automatically setup clock and timezone depending on your location if it detects an active Internet connection. If your timezone was correctly configured and indicates your physical location hit on Yes in order to move forward.
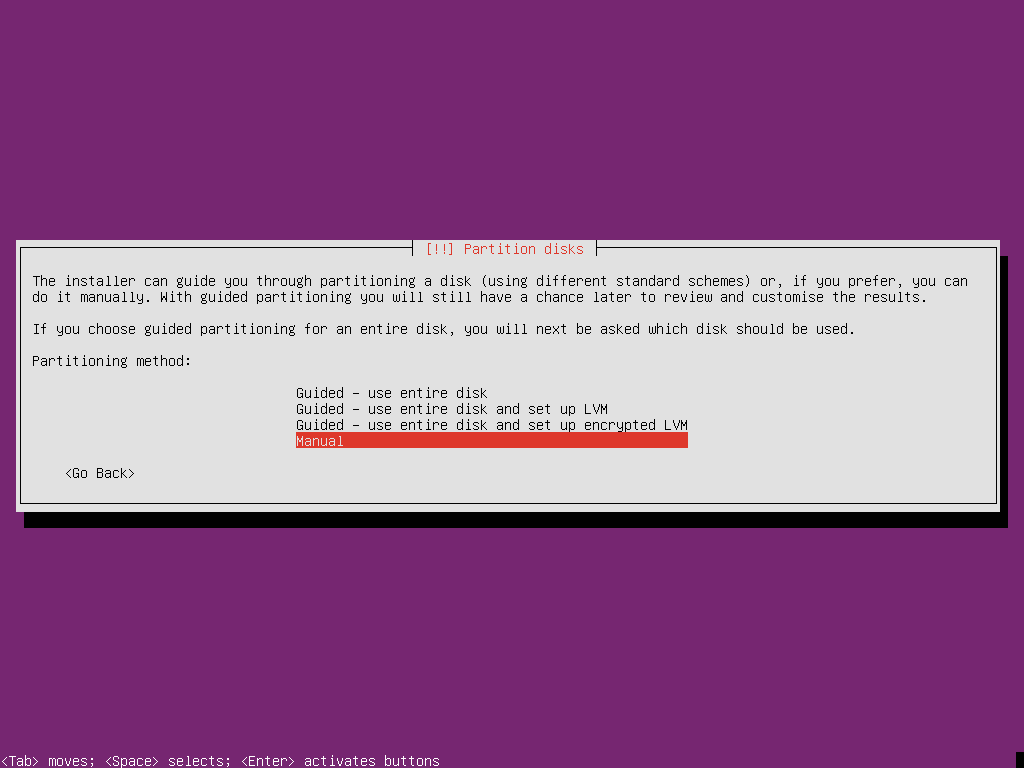
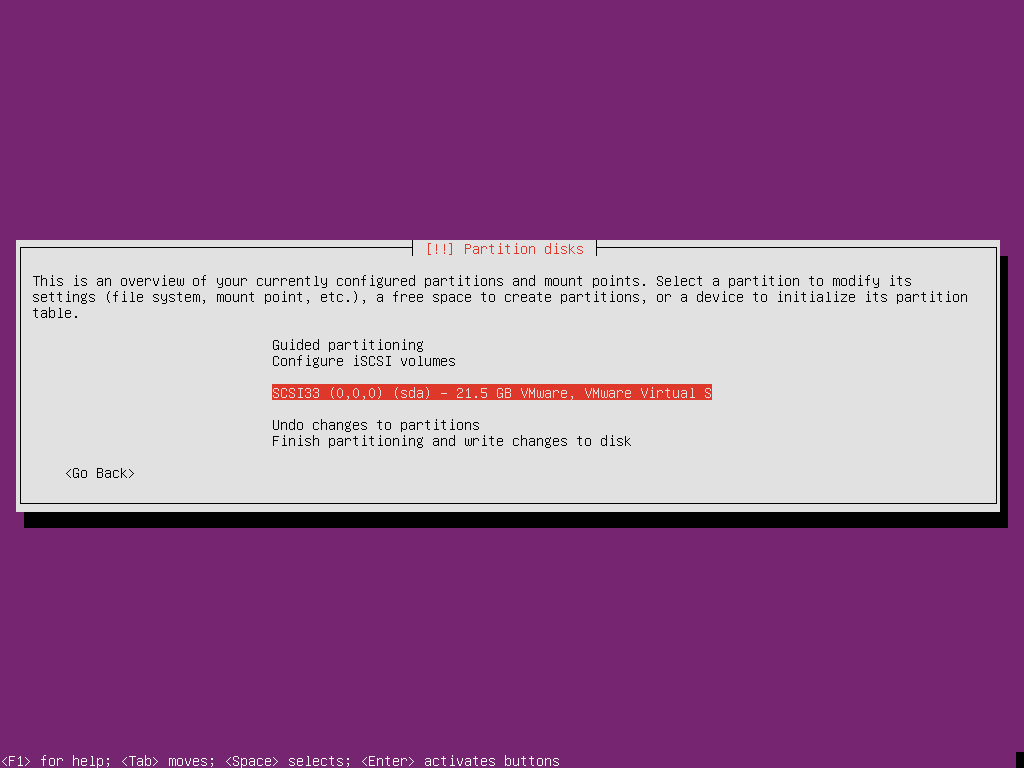
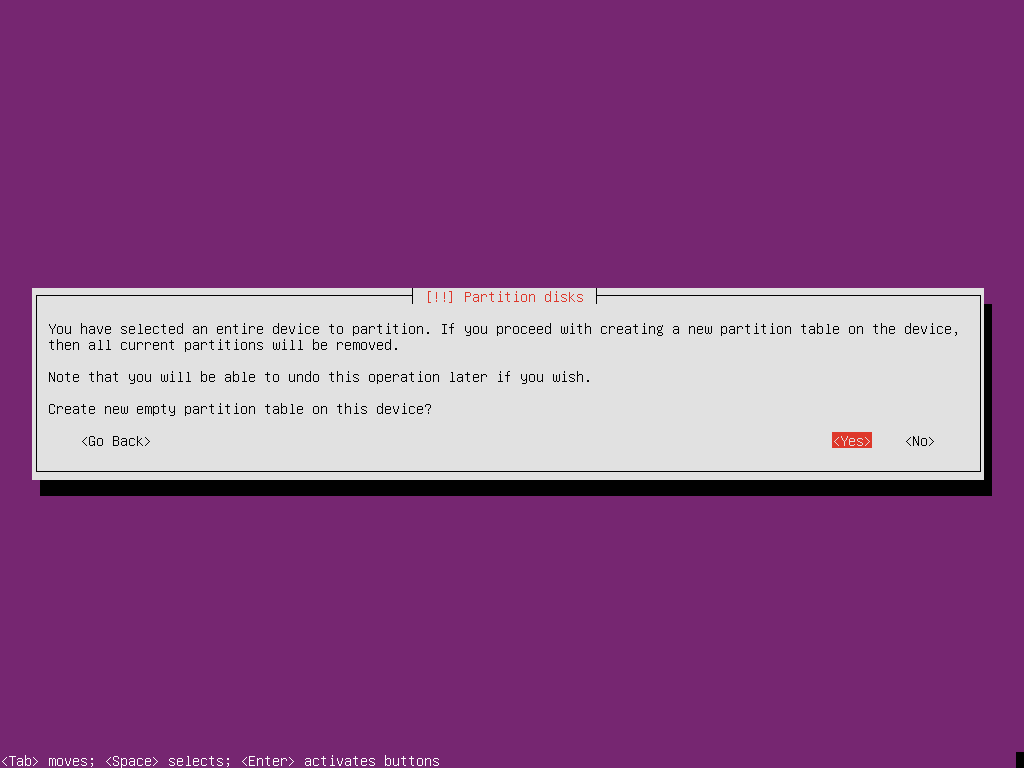
9. The next step is one of the most important steps, because now you need to slice the hard drive and create your partition layout and filesystems. Keep in mind that now your are designing partition on GPT scheme and your system uses UEFI. When the installer reaches Partitions Disks choose Manual method on order to have the complete control over the entire partition layout scheme, then choose the disk that you will be partitioning, press Enter to continue, then select Yes in order to Create a new partition table on the selected disk.
10. Now it’s time to create a partition table layout. For this tutorial I will use the following partition scheme:
- A Partition for Volume Group for the entire system named
vg_system, with two Logical Volumes that will be mounted at/homeand/(root), formatted using ext4 filesystem - The
/bootpartition – recommended 1Gb - The EFIboot partition – 512 Mb
The /(root) and /home partition sizes are variable so it’s up to you how much space you allocate them, but take into consideration that on a server you should allocate minimum 10Gb for /(root) partition or even divide it further into other partitions (/var or /usr). Also, you are probably wondering about /swap partition. On servers with at least 4GB of RAM i find that the swap partition is not much of use, and slows down the system in case you are not swapping from a SSD fast disk.
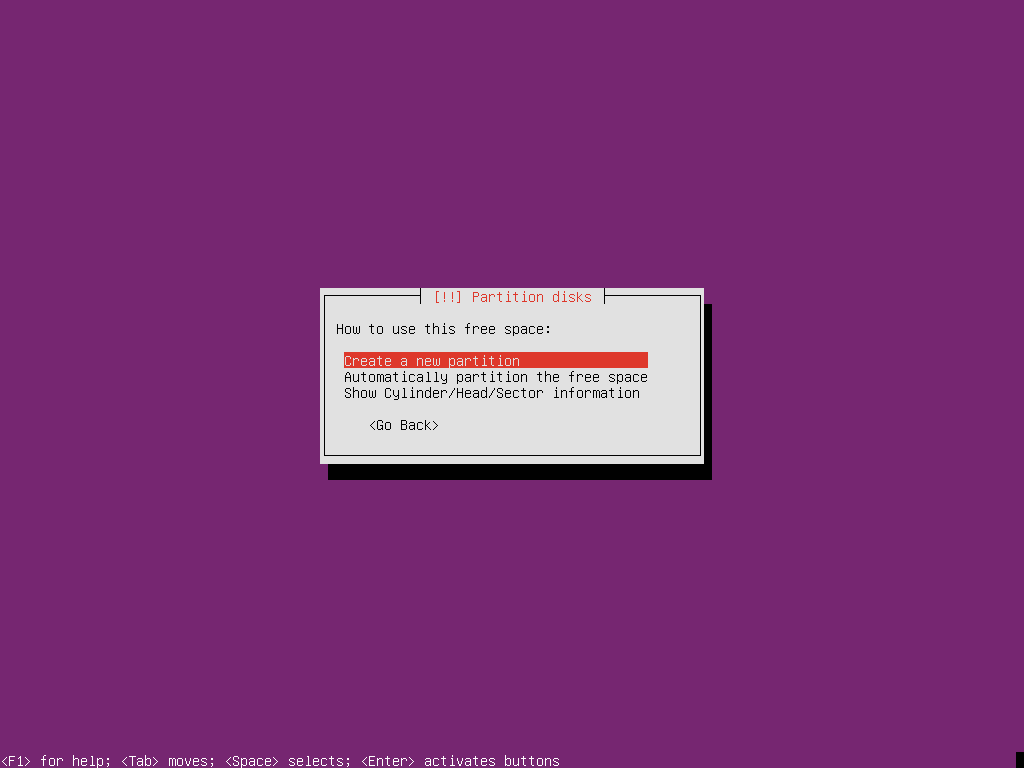
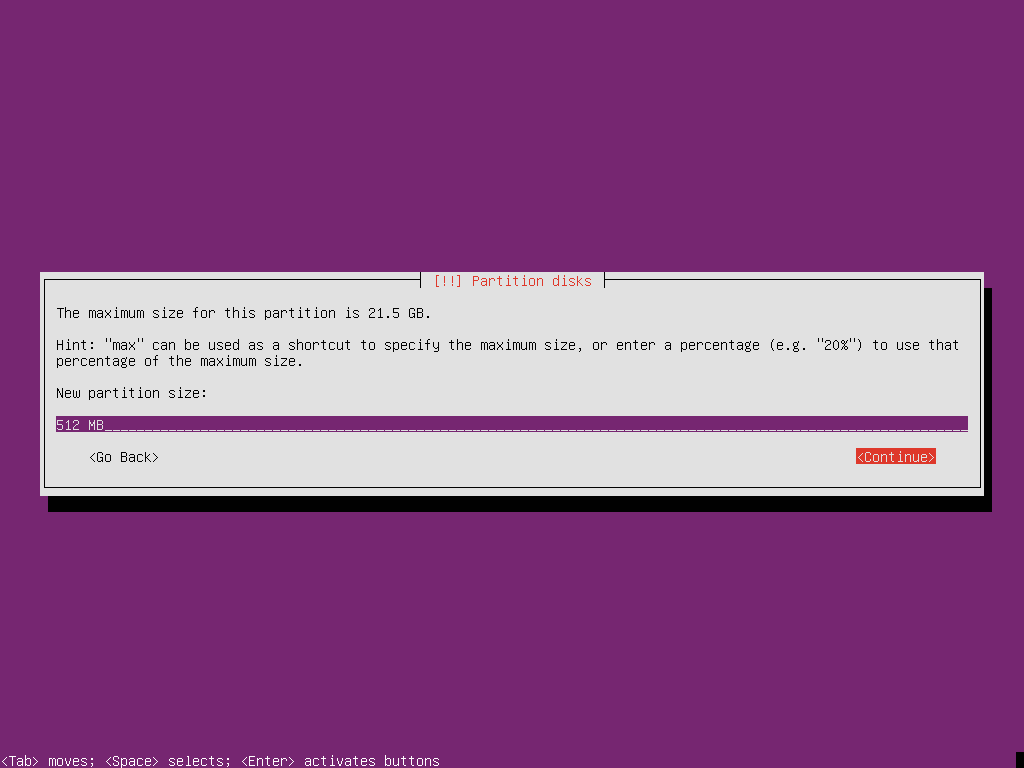
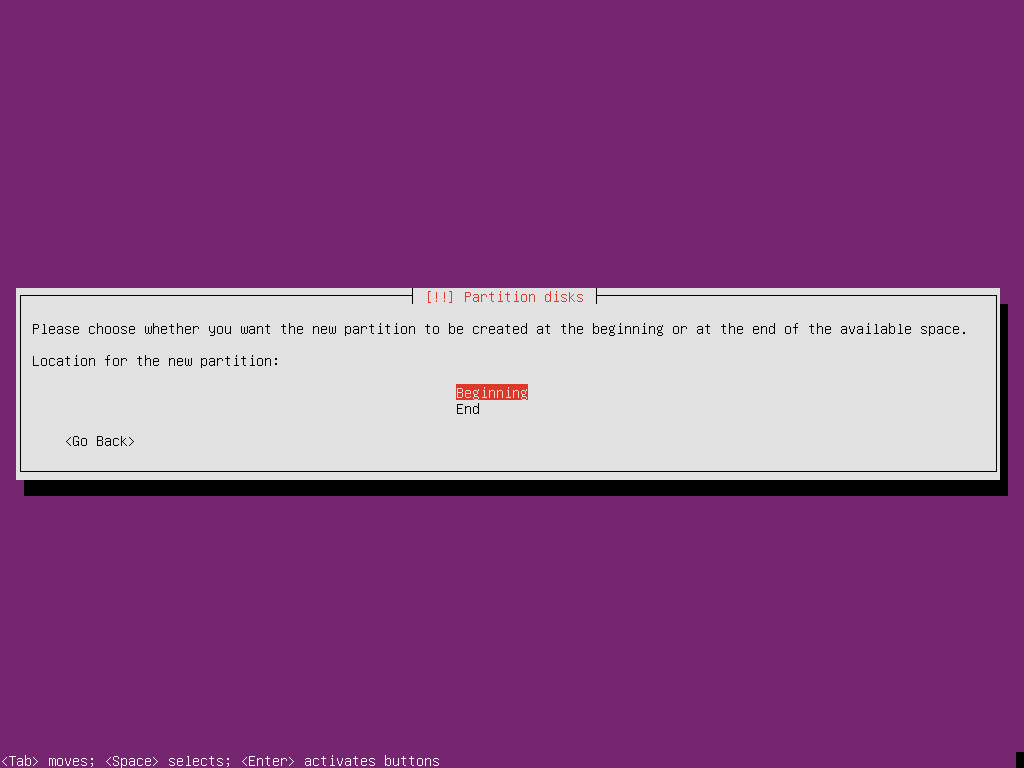
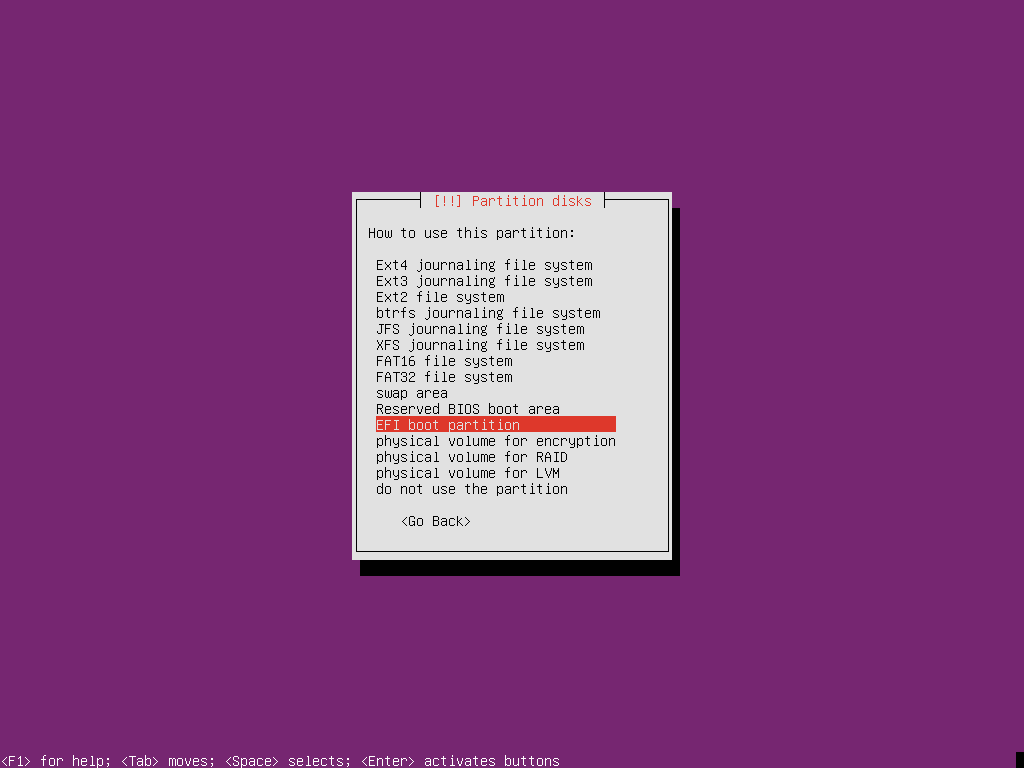
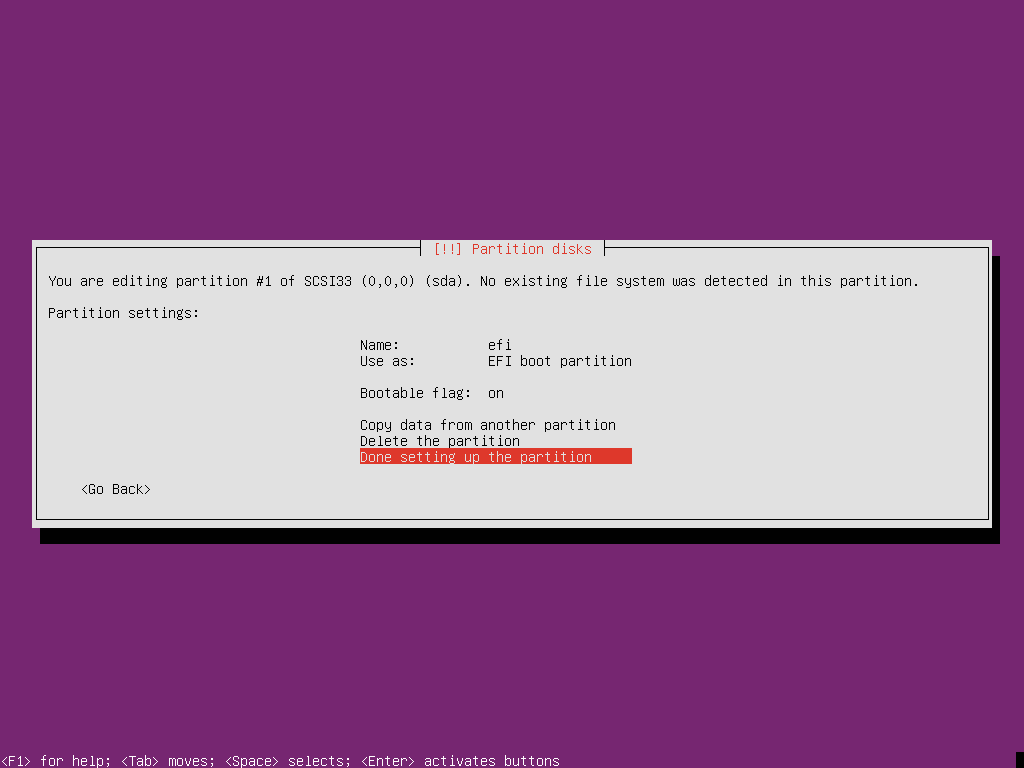
Now let’s setup the partitions. The first partition is the EFIboot partition. Select the FREE SPACE , hit Enter key, then select Create a new partition, use 512 MB as it’s size -> Continue -> choose Beginning as it’s location on hard drive -> Use as EFI boot partition -> Bootable flag: on -> Done setting up the partition. You can also setup and name for this partition. The below screenshots illustrates this step.
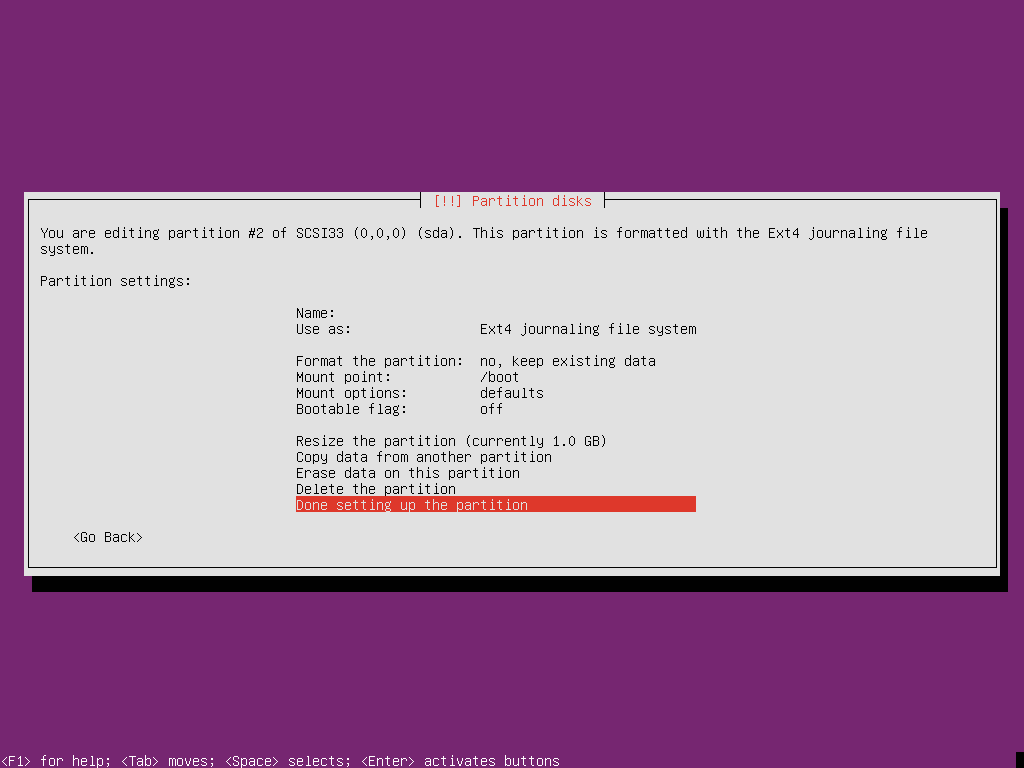
12. Now use the same steps as for EFI boot partition to create the /boot partition but change the size, filesystem type and mount point: Select the remained FREE SPACE -> Create a new partition -> use 1GB as it’s size -> Continue -> choose Beginning -> Use as EXT4 Journaling file system -> Format the Partition: no -> Mount Point: /boot -> Done setting up the partition. You can also setup this partition name (label) too.
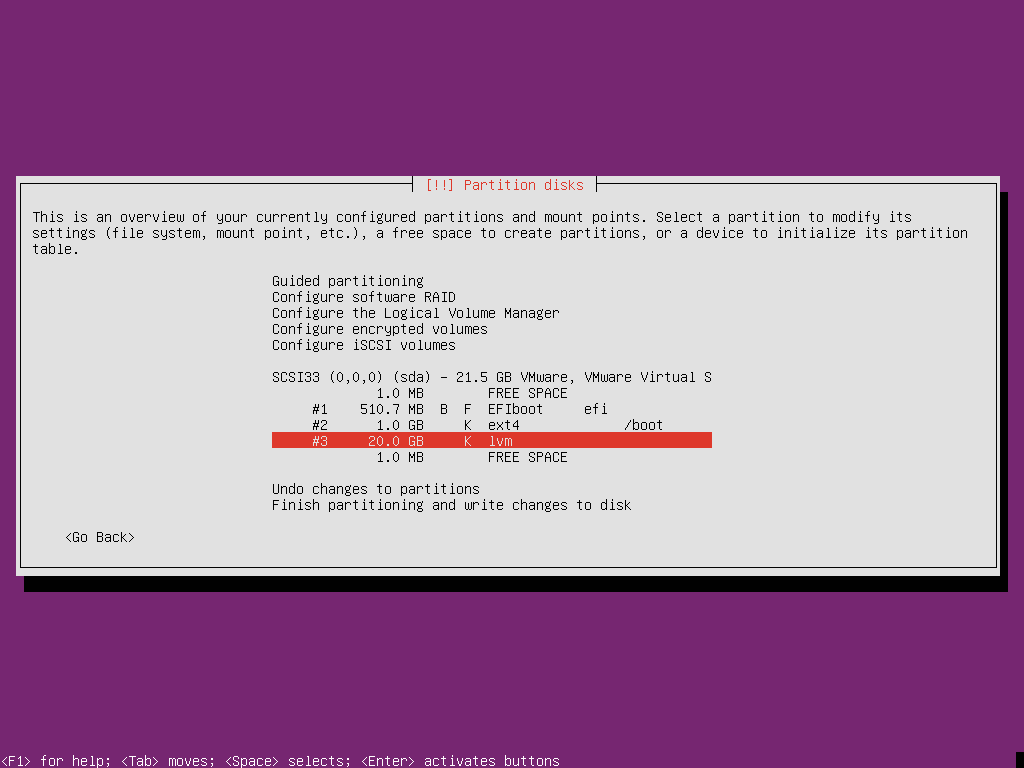
13. Now you need the create the LVM partition. Use the same steps as above: select the remained FREE SPACE -> Create a new partition -> use all remained space as it’s size -> Continue -> choose Beginning -> Use as Physical Volume for LVM -> Done setting up the partition.
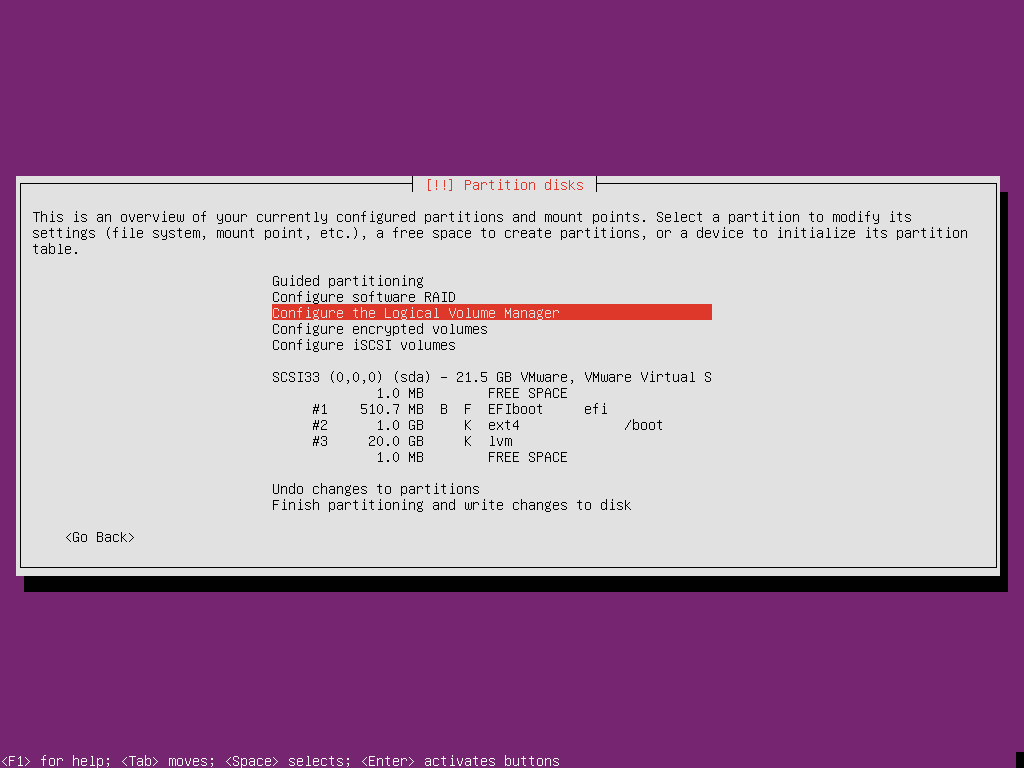
14. Next use the up arrow to move up on the menu and select Configure the Logical Volume Manager. Say Yes to Write the changes to disk and configure LVM in order to apply the partition table created so far -> select Create Volume Group -> Enter a descriptive name for this Volume Group -> Continue -> then Select the device for this Volume Group – in this case it’s largest the partition created earlier /dev/sda3 – > Then hit Continue to return on primary menu. Use the below screenshots as guidance:
If you have multiple partitions created on hard drives or other disks you can add them all to this Volume Group in order to expand its size.
15. Now, let’s create the Logical Volumes (similar to disk partitions) for /home and /(root). Select Create Logical Volume -> on Volume Groups the previous VG will be automatically preselected – hit Enter -> Enter LV name – lv_root -> Enter LV size – choose your custom size value > Continue to go back to main menu. Use the same steps to create the lv_home menu with all the left space and when you’re done hit Finish to apply settings and return to Partition disks menu as presented on the following screenshots:
16. After the LVM partitions had been created, select the first Logical Volume – lv_home #1 and setup this partition the same way you setup any normal partition: Use as EXT4 journaling file system -> Mount Point: /home -> Done setting up the partition. Use the same settings with Logical Volume – lv_root #1, but change the mount point accordingly: Use as EXT4 journaling file system -> Mount Point: / -> Done setting up the partition.
17. After all the partition are created select Finish Partitions and write changes to disk, select No on Return to partition menu and Yes to Write changes to disk in order to apply the entire partition layout and move forward with the installation.
18. From here on the installer start to copy all the necessary files to disk in order to install the system. When it reaches Package Manager HTTP Proxy make sure you leave it blank in case you are not using a http proxy to connect to Internet and hit to move forward.
19. Next step is to configure how to manage upgrades on your system. Select No automatic updates hit Enter and soon the Software Selection menu should appear. Here select OpenSSH to be installed by hitting Space key in order to enable SSH and remotely login after the system finish installing and press Continue to move at the end of the installation process.
20. Depending on your system resources the installer should take a few minutes in order to complete the installation process, after installs the GRUB boot loader. When the entire installation process finishes with success, remove any remove any installation media from your system and hit Continue to reboot the system.
Congratulations. Now you have the latest version of Ubuntu Server Edition installed on your UEFI machine. After reboot, log in with the credentials created at the installation process for your administrative user and issue the following commands in order to update your system with the latest security, kernels and software releases:
sudo apt-get update
sudo apt-get upgrade
sudo apt-get dist-upgrade
Although this installation procedure was focused on Ubuntu 18.10, the same configurations can be applied with success on other Ubuntu Server or Debian releases because both distribution installers resemble.


