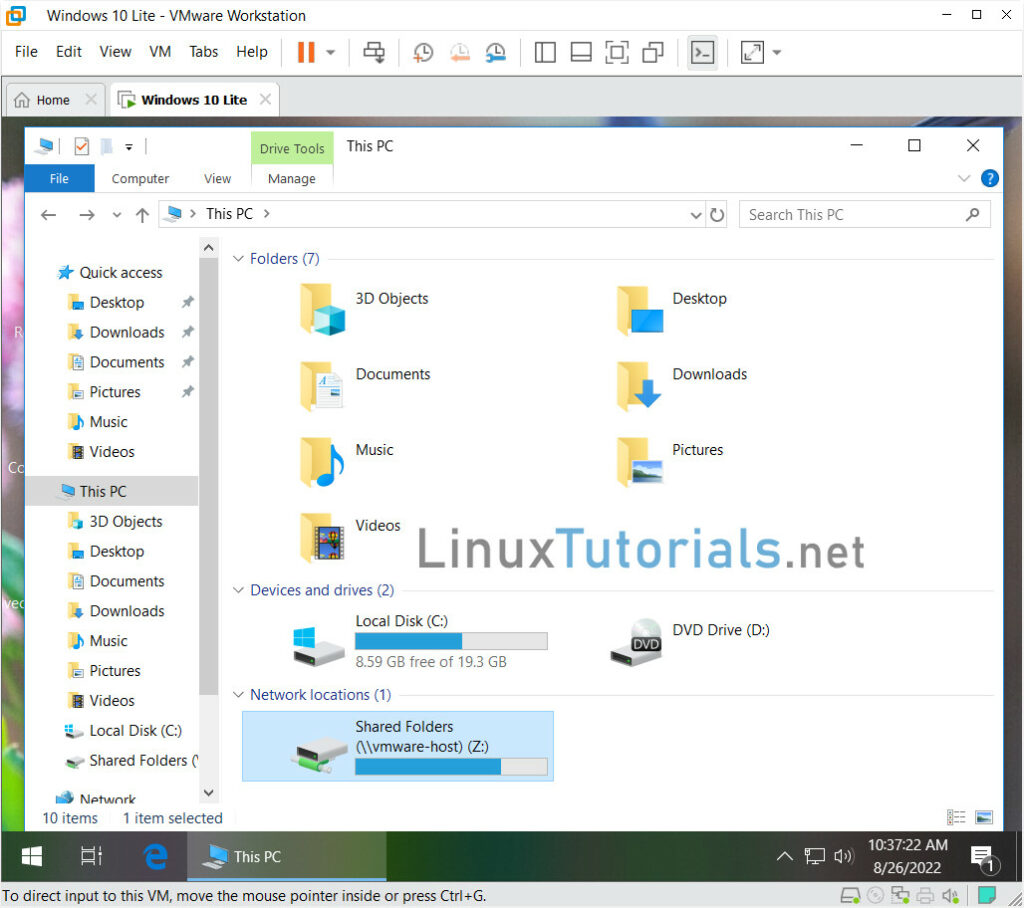
In many cases, you need to copy or share files between the host and the virtual machine. This article will guide you through the steps to configure file sharing between a Windows host (physical PC) and a virtual machine that has Windows 10 installed on VMware Workstation 16.
Require: The physical PC and the virtual machine can ping each other
Step 1: Enable Shared folder
On host, create folder to share to the virtual machine. Example: E:\Shared_VMs
On VM VMware, make sure your virtual machine is Turn off.
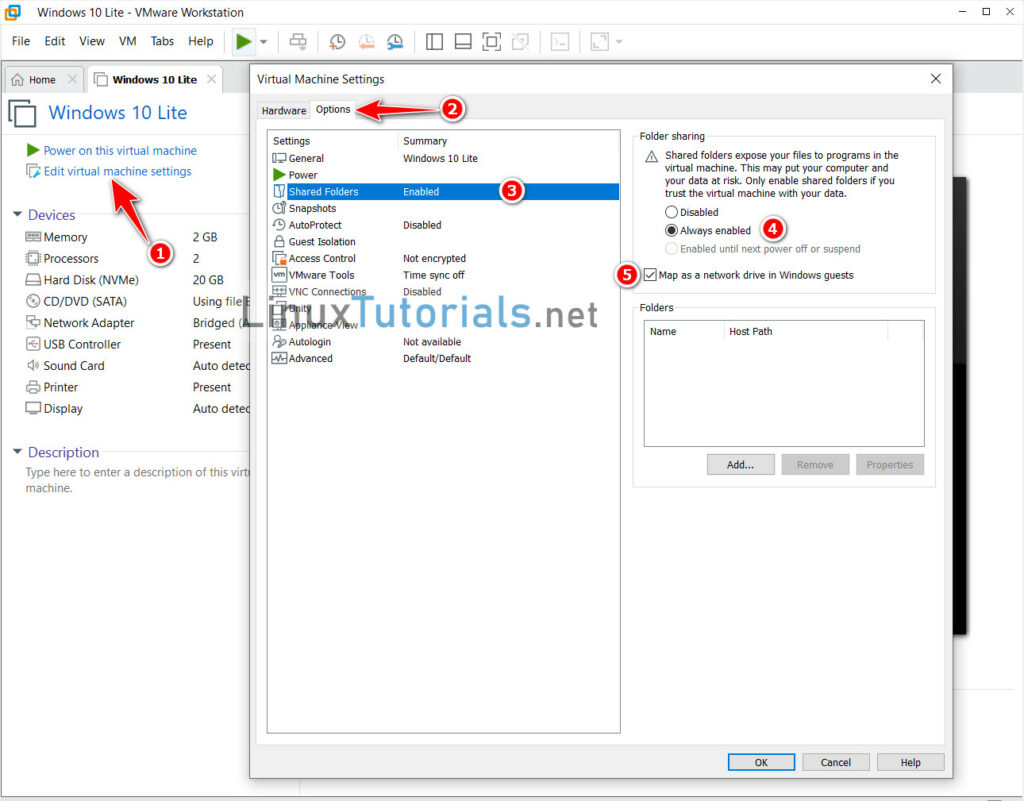
1. Click Edit virtual machine settings.
2. In the Settings page, move to the Options tab and select Shared Folders.
In Folder Sharing option, select Always enabled. and enable Map as a network drive in Windows guests.
3. Click on “+ Add” under the currently empty folder list. Enter a name for your shared folder and click on Browse to find and select the actual folder that you created (E:\Shared_VMs), and click Next
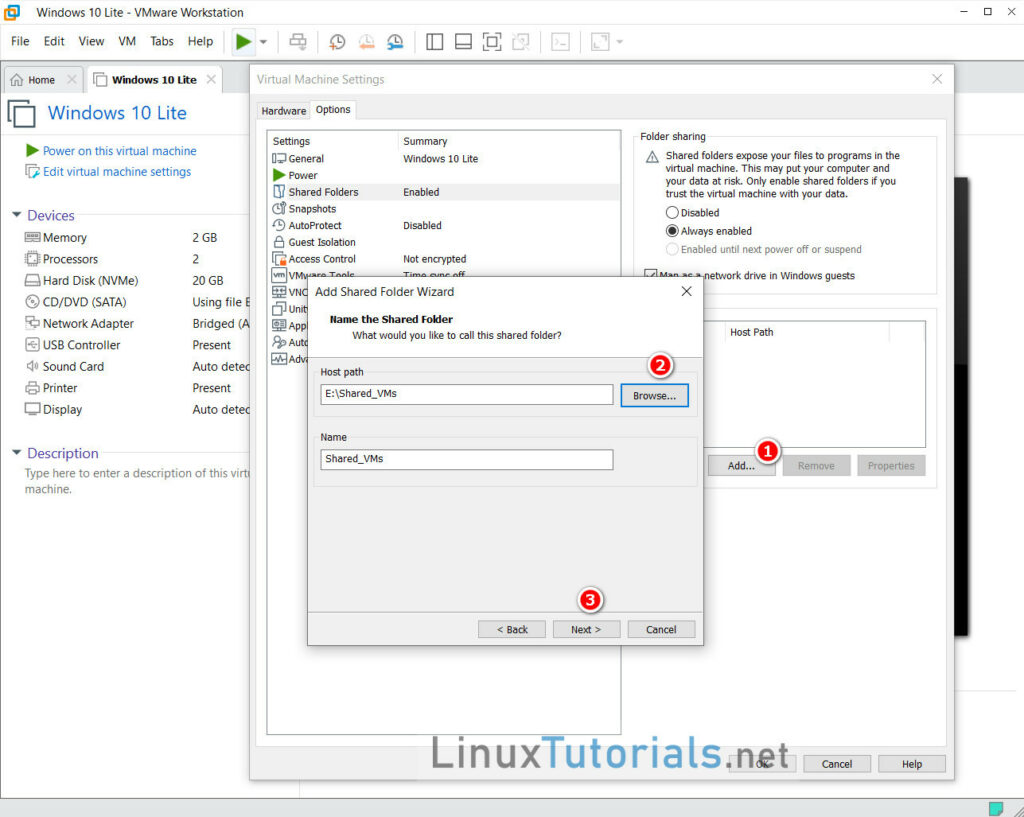
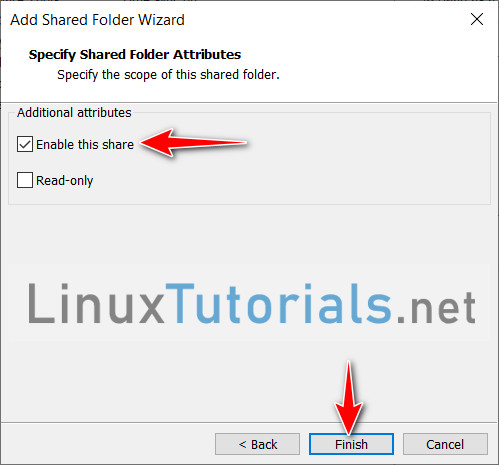
4. Leave Attributes as Enabled. click Finish and click OK
Ensure Read-only is disabled if you want both OSs to have full read/write access to your folder’s contents.
Step 2: Install VMware Tool
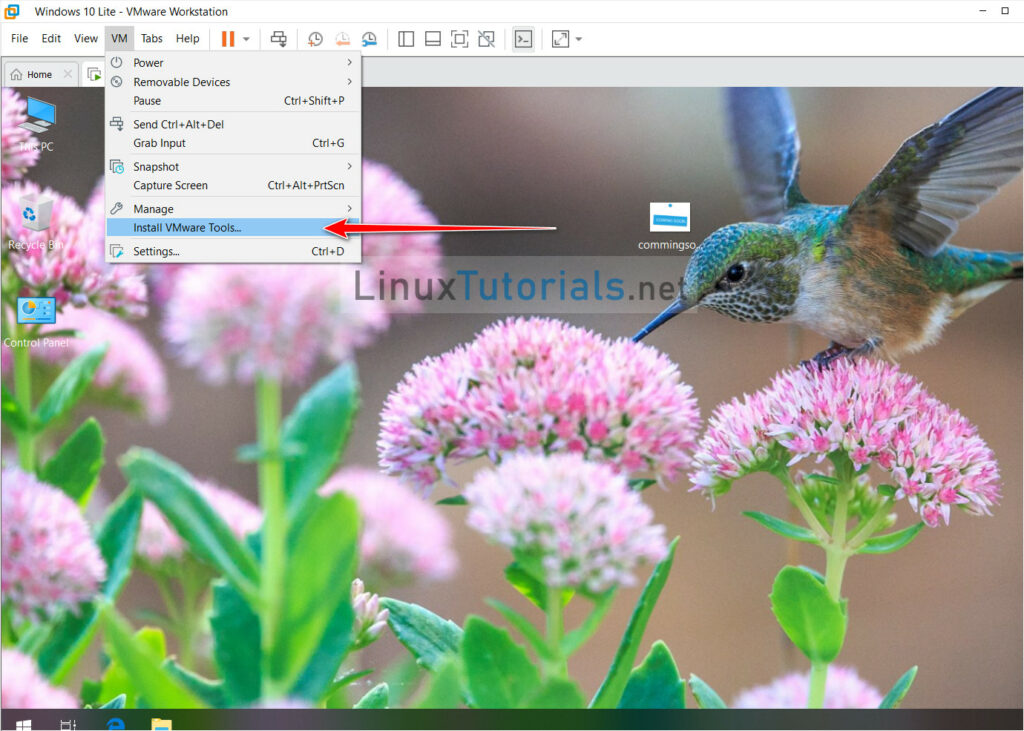
Power on virtual machine, go to VM –> Install VMware Tools…
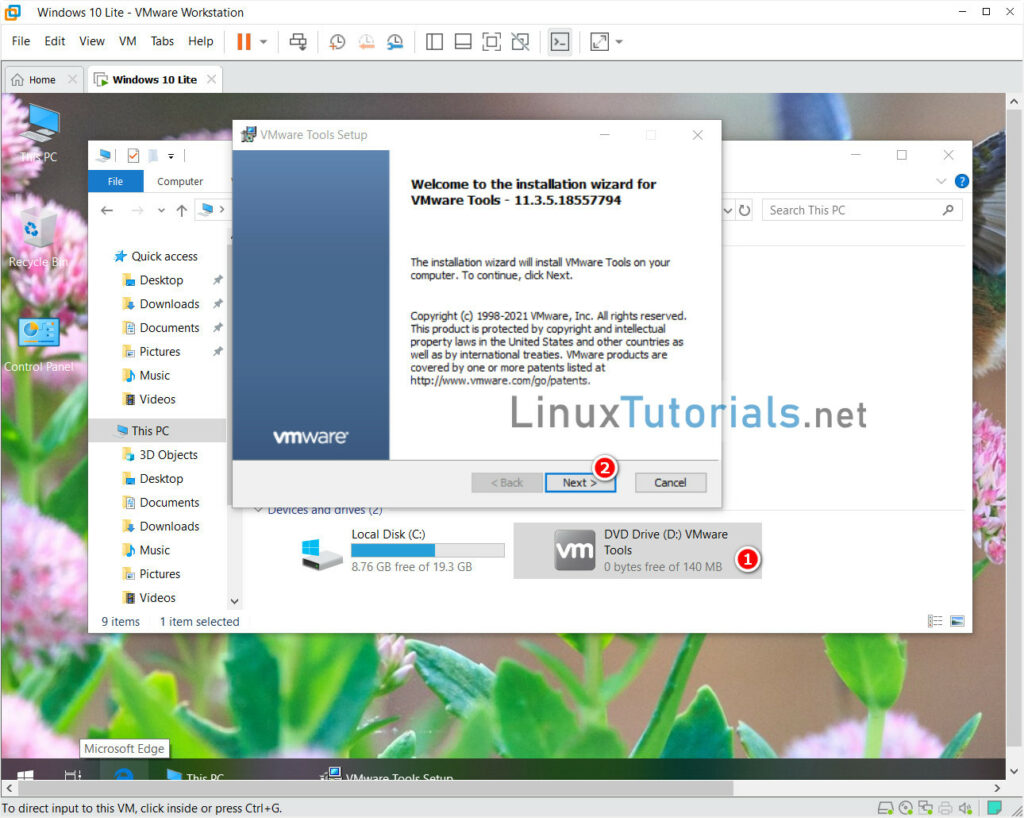
On Virtual PC, open Explorer, go to My Computer, double click DVD Drive: VMware Tools to install VMware Tools
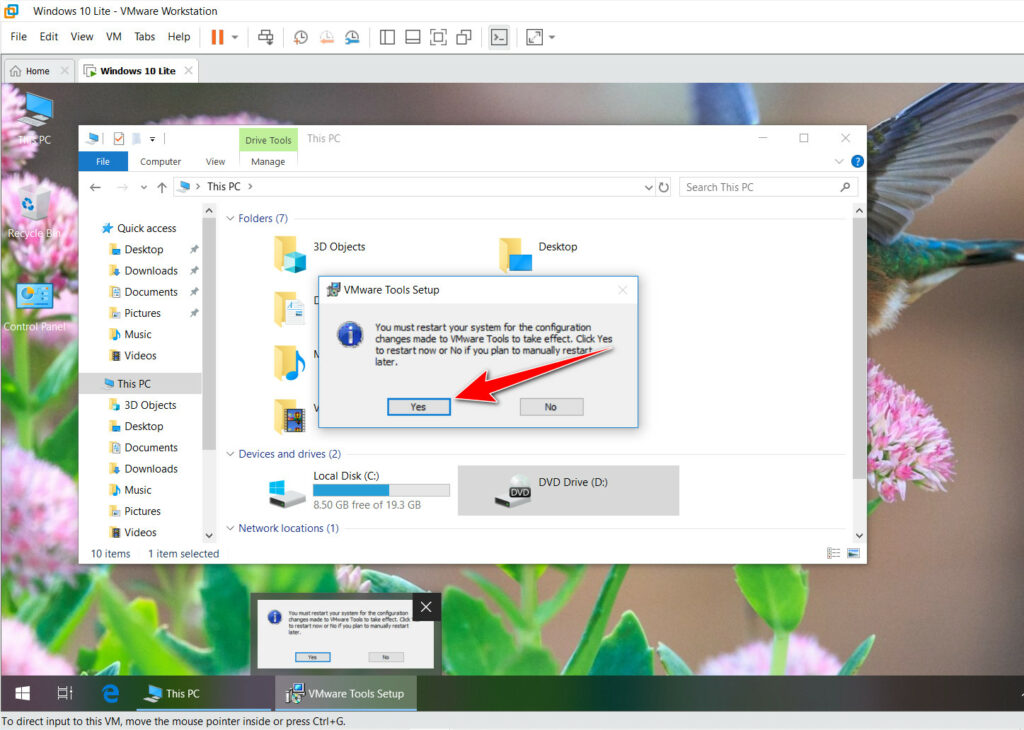
Reboot the system after finishing installing VMware Tools.
Step 3: Copy/Transfer File
After rebooting the system, you can copy files (Ctrl + C) from the host and paste (Ctrl + V) it into the virtual machine.
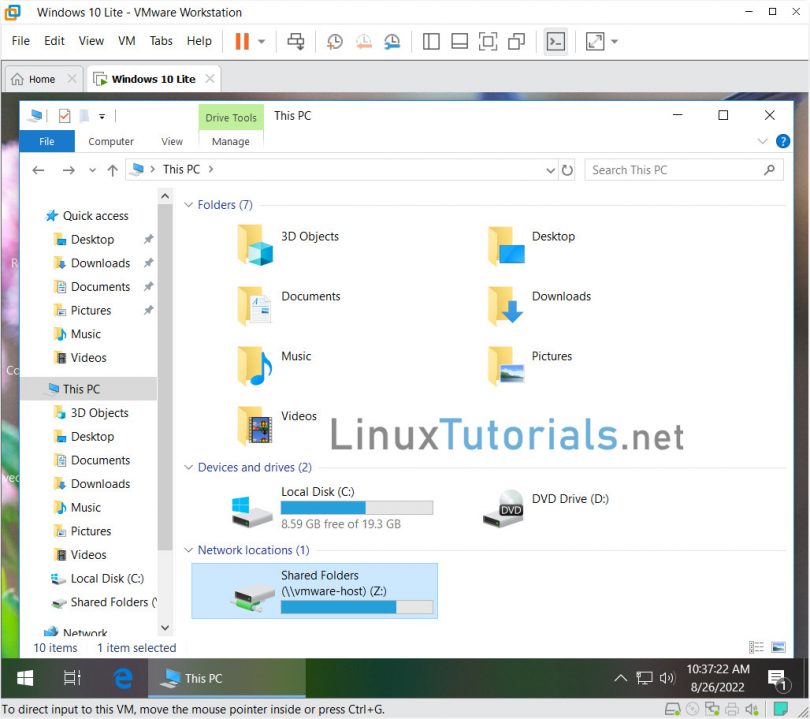
On Virtual PC, Open My Computer, you can access the folder you shared from the physical computer.
