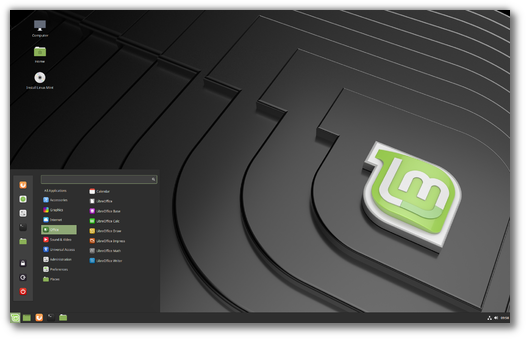
This tutorial will guide you on how you can install Linux Mint 19.1 (Tessa) Cinnamon Edition in dual-boot with machines that comes pre-installed with the last release of Microsoft Operating System – Windows 10 Cortana or how you to install both systems the same time on the same hard drive on machines that comes with no operating system installed by default.
The following installation procedure applies on computers with UEFI firmware and a single hard drive and focuses on how to install and boot Linux Mint from UEFI firmware alongside Windows 10 (not from Legacy Mode where you can use GPT partition layout style). Also, if you machine comes pre-installed with Windows 10 Operating System you must shrink the Windows 10 C:\ drive by using Disk Management (run -> diskmgmt.msc) feature in order to recover space that will be used for Linux Mint partitions.
REQUIREMENTS
- Shrink Windows 10 C:\ drive to free hard drive space for Linux Mint installation
- Linux Mint 19.1 DVD ISO image
STEP ONE – Change UEFI Settings
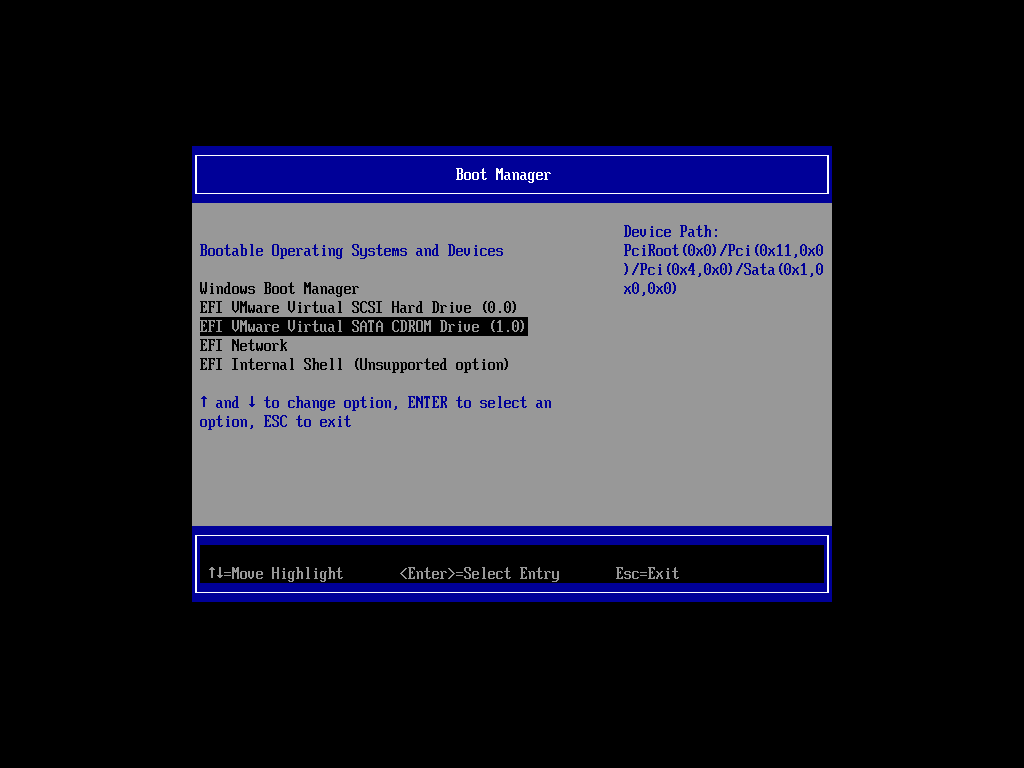
1. After you have downloaded and burned a Linux Mint 19.1 ISO Image place the DVD media content in your machine DVD drive and reboot your machine. After the system reboots enter UEFI settings and disable SecureBoot option (if supported) and instruct the machine to boot from EFI CD/DVD drive. On some motherboards you can enter boot menu or EFI settings just by pressing a specific function key (F12 , F8 , F2) during machine start-up (please consult your machine manual for function keys) or by pushing a small button that is located on your machine sideways, usually in the case of laptops.
STEP TWO – Boot Linux Mint installation media in Live Mode
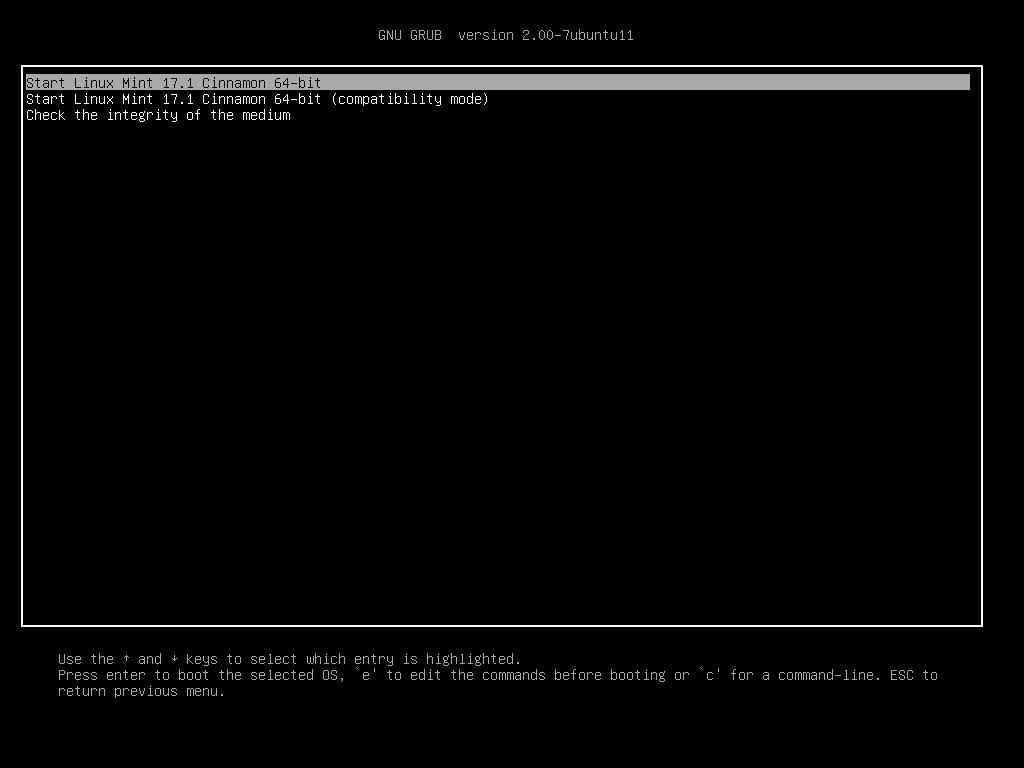
2. When the first boot screen with GRUB appears, select Start Linux Mint 19.1 Cinnamon 64-bit and hit Enter key in order to load the DVD media content and start Linux Mint in Live Mode.
STEP THREE – Install Linux Mint
3. After the system completely boots-up in Live Mode start the installation process by opening Install Linux Mint shortcut, choose the language for the installer, then hit Continue button to move forward.
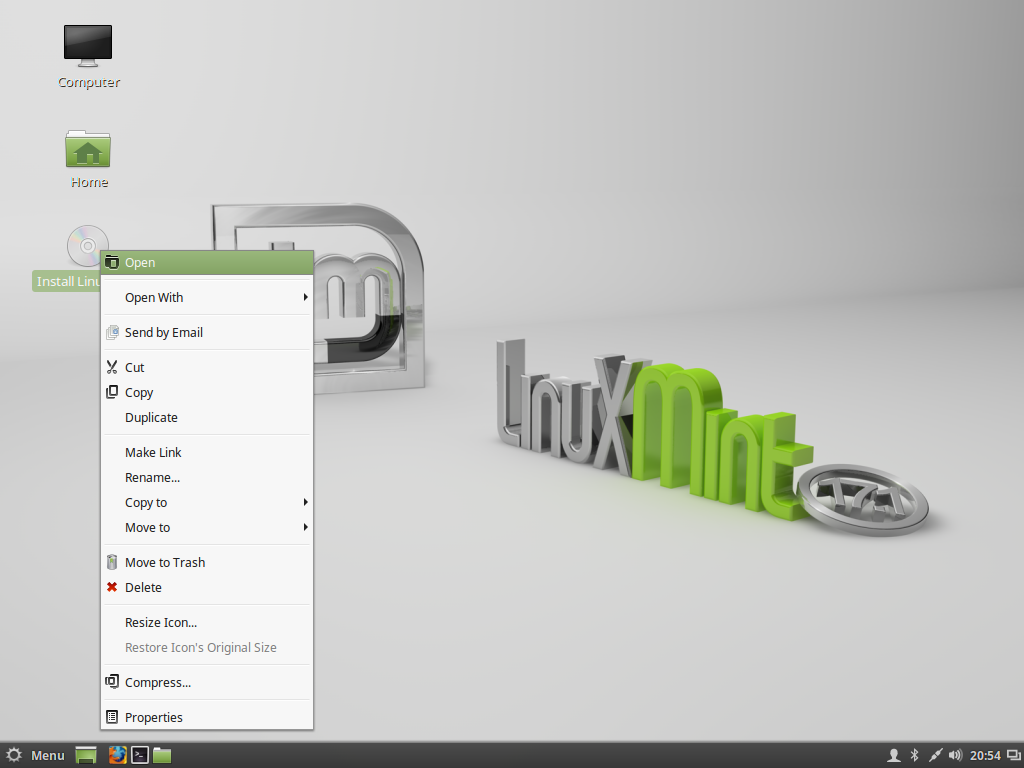
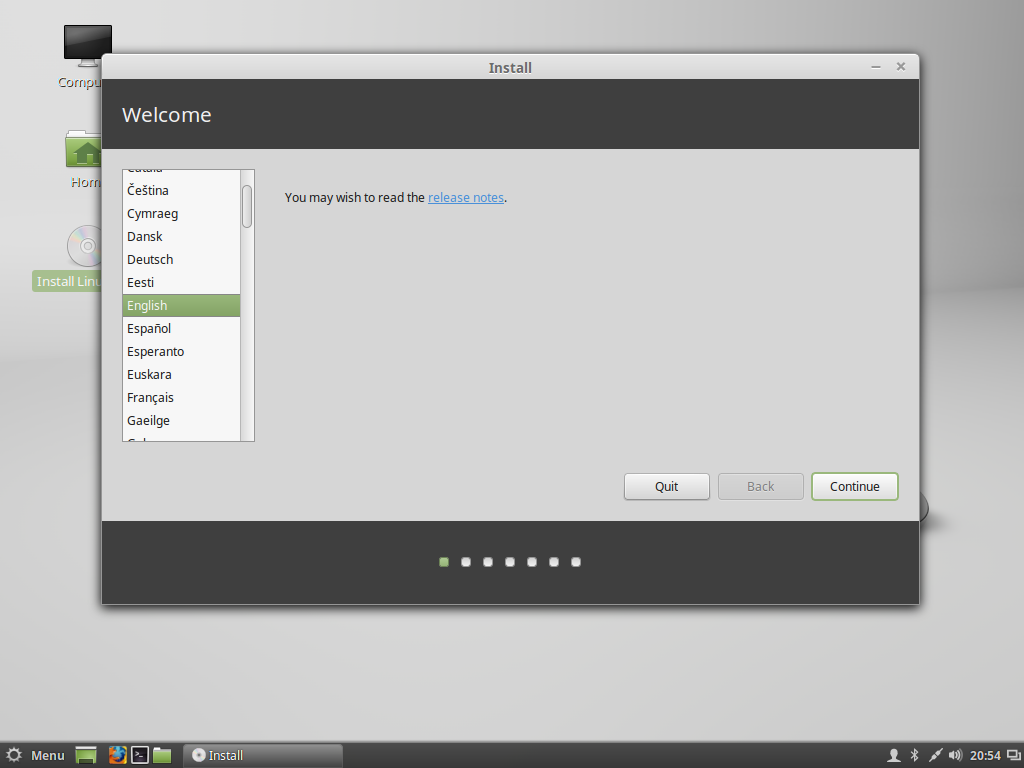
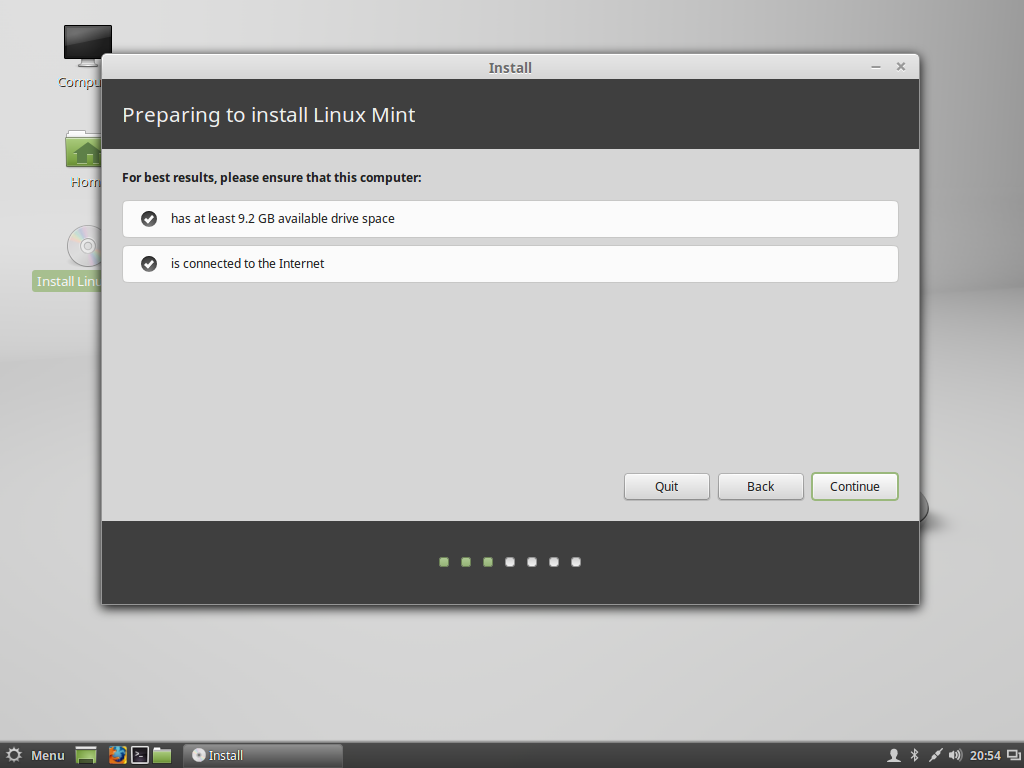
4. After the installer verifies your hard drive space and Internet connection hit Continue button to move on the next option.
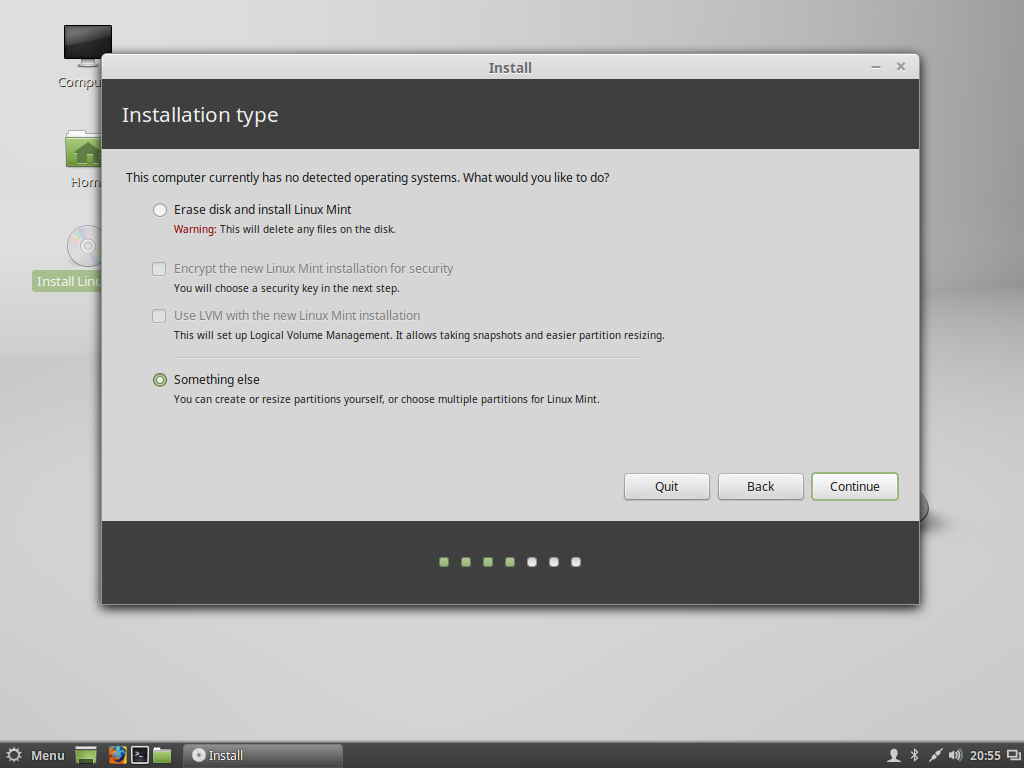
5. On the next step choose Something else as Installation type in order to create custom partitions for Linux Mint and hit Continue button.
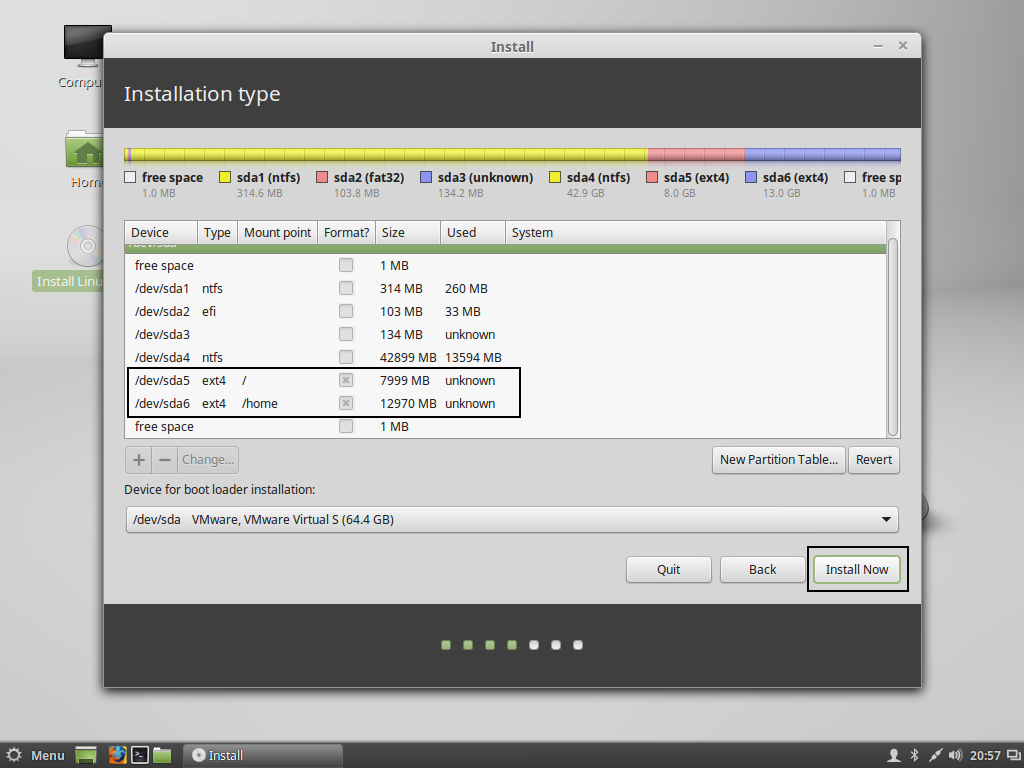
6. Now it’s time to partition the hard drive in order to install Linux Mint in dual-boot with Windows. As you can see, your hard drive has some partitions already created by Windows so don’t touch those partitions in any way. Instead, select the free space which was resulted from shrinking C:\ drive and hit the below + button in order to create two new partitions: /home and /(root).
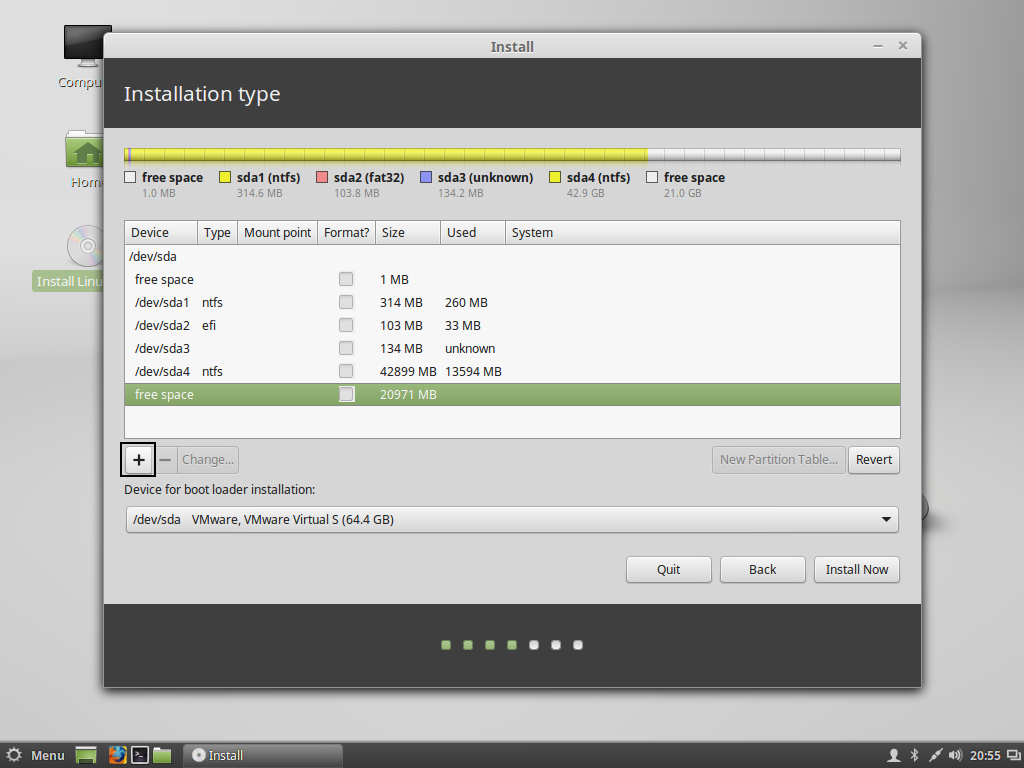
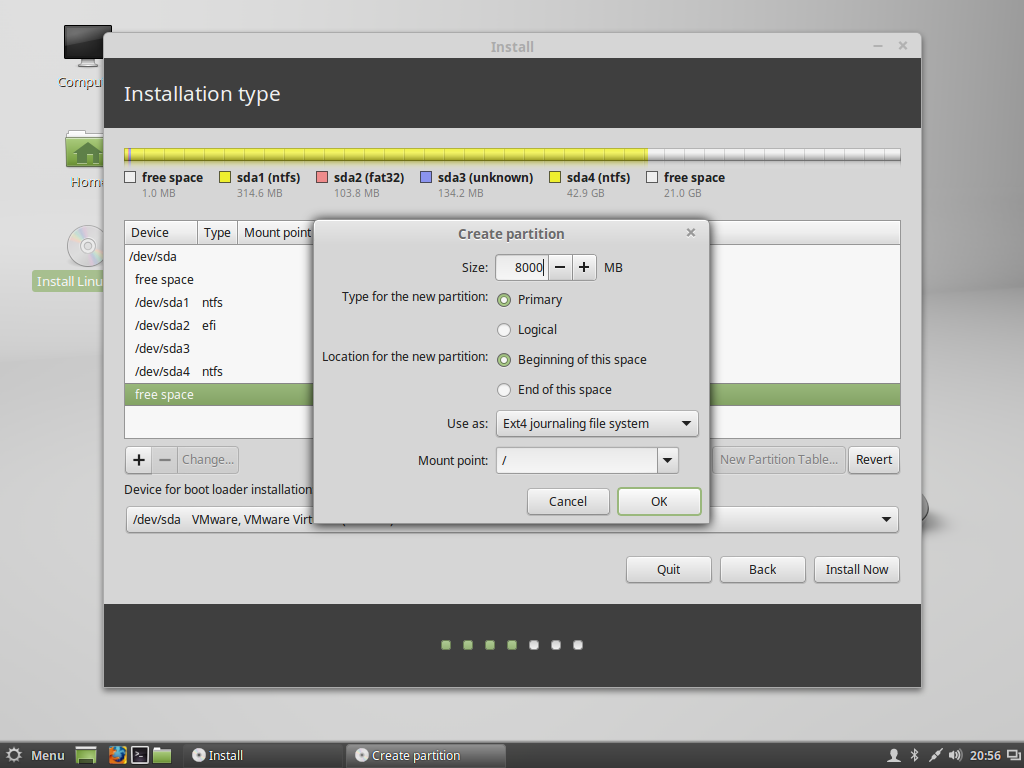
7. The first partition created will be the /(root) partition which will be configured with the following settings. When you finish setting up the partition hit OK to create partition.
– Size = min 8000 MB
– Type = Primary
– Location = Beginning of this space
– Use as = EXT4 journaling file system
– Mount Point = /
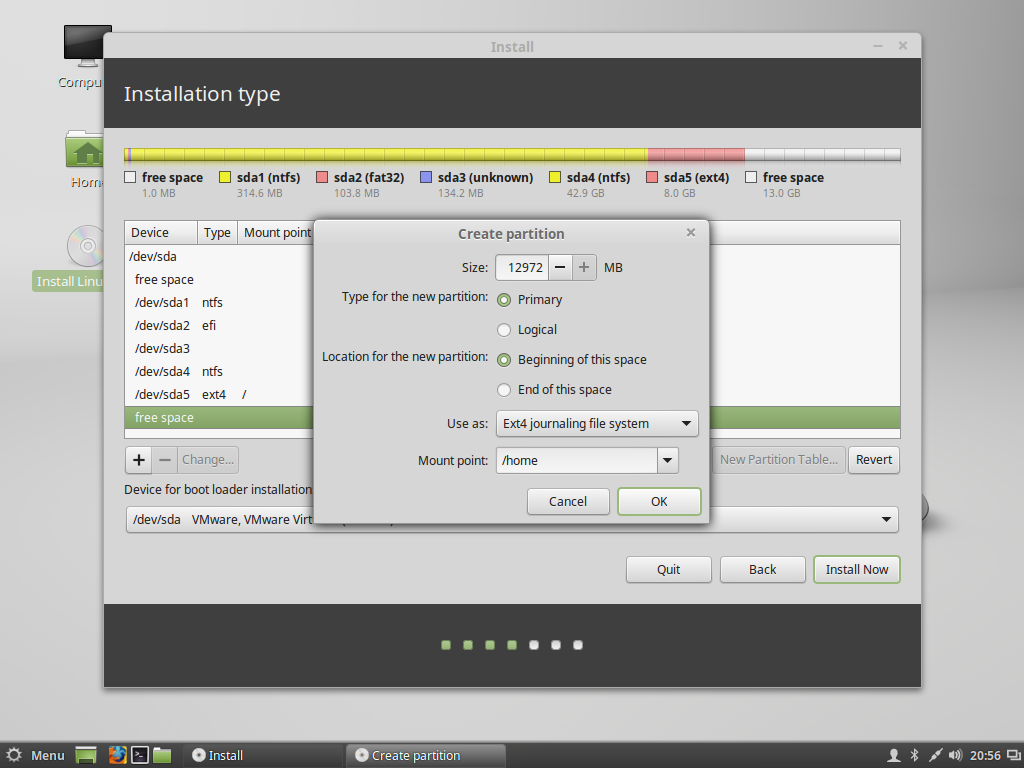
8. Next, choose again the free space and hit + button to create the second partition for /home, where all your user documents and setting will reside (similar to windows). For the second partition use the following settings:
– Size = leave it as default if you want all the remaining free space to be used
– Type = Primary
– Location = Beginning of this space
– Use as = EXT4 journaling file system
– Mount Point = /home
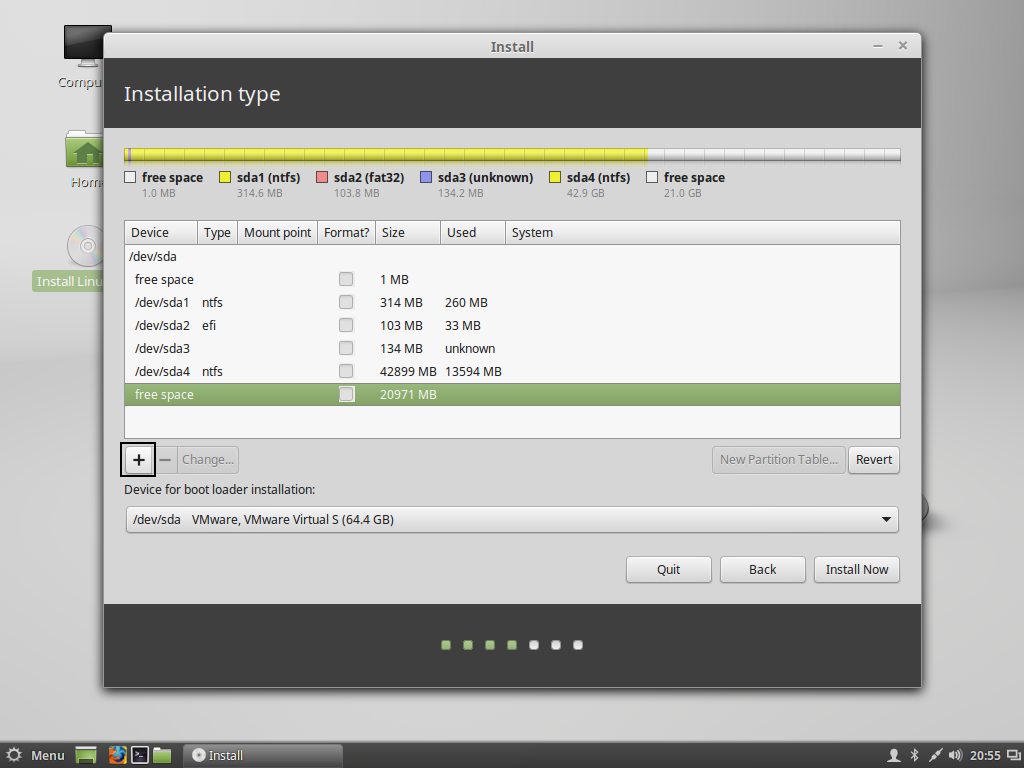
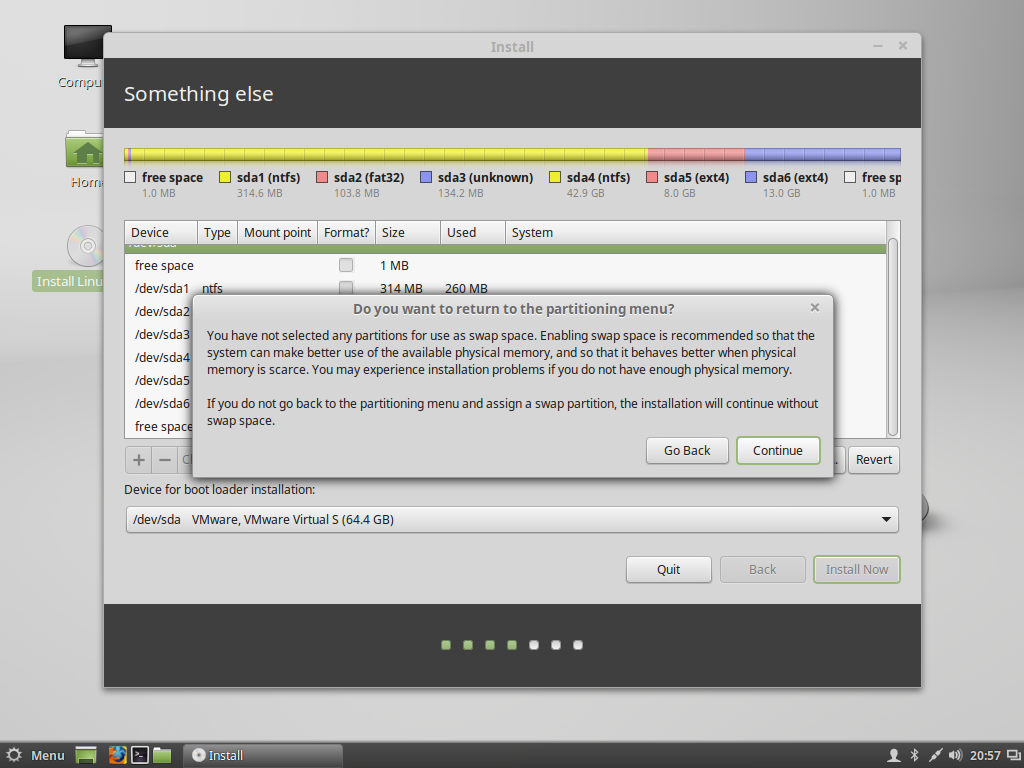
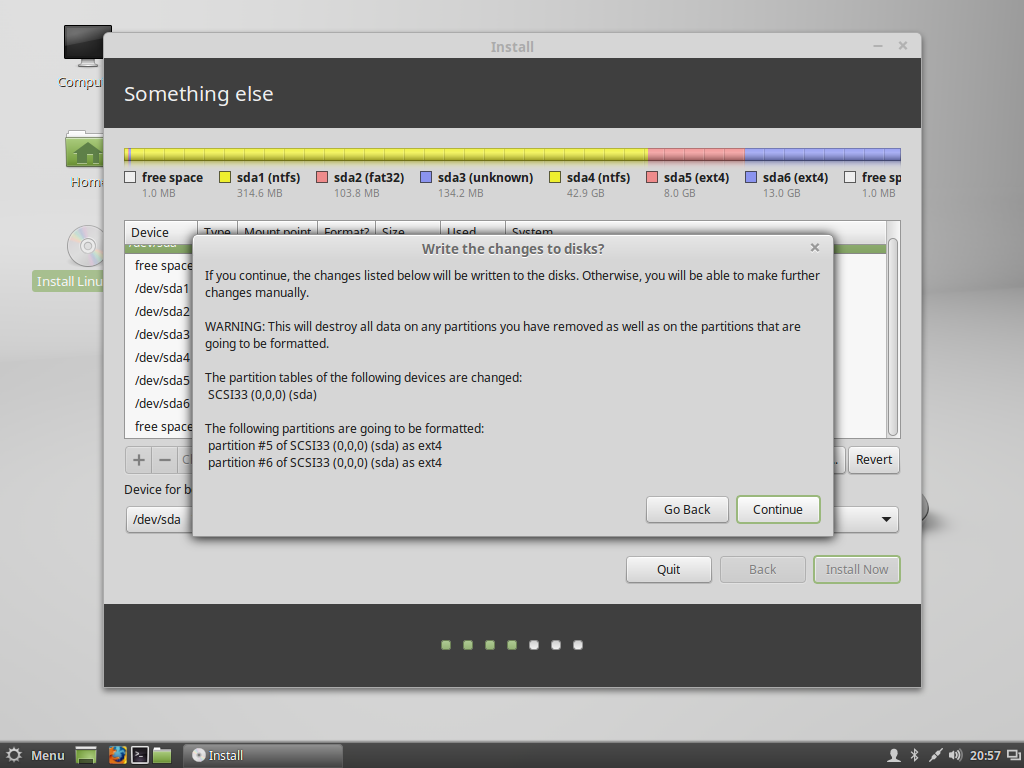
9. When you finish hit OK button again to create partition, inspect your partition layout again and, then, hit on Install Now button in order to apply settings and start installing the system. If you haven’t setup a /swap partition for your system, the installer will notify you through a pop-up warning window in order to go back to the partitioning menu. If your system has minimum 4GB of RAM, there’s no point on creating a swap partition, so hit on Continue button to proceed further. Also, hit Continue button again on the next pop-up warning in order to move to the next step as presented on the below screenshots.
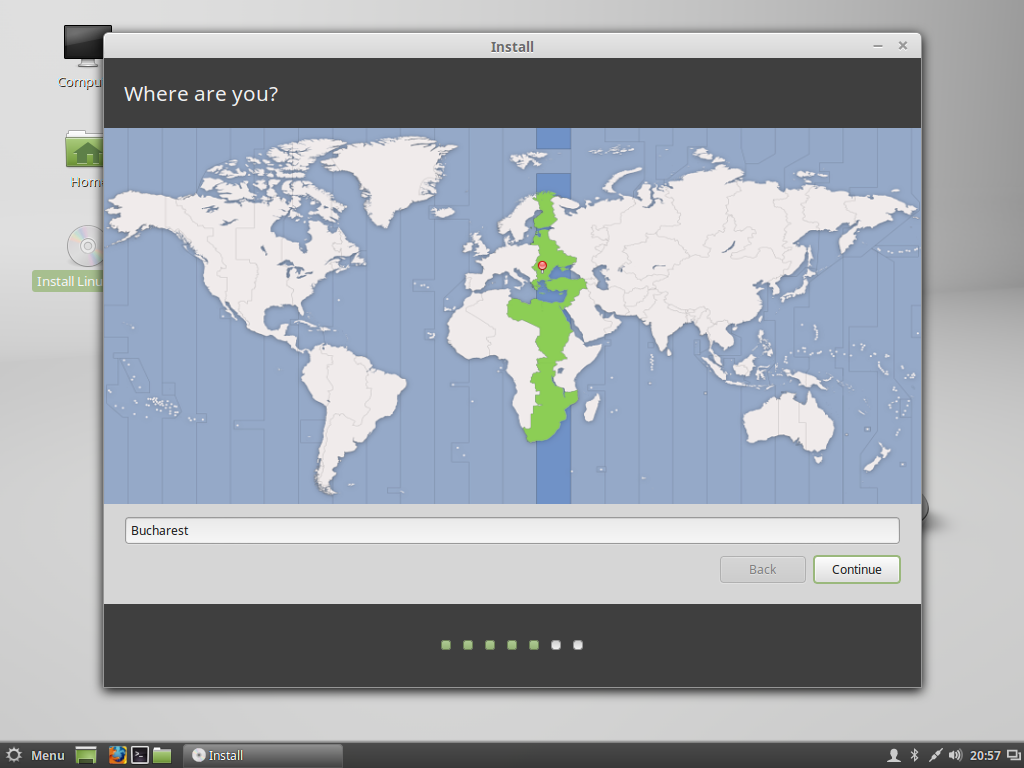
10. On the next step the installer automatically detects and configures your timezone and location in case you have an active Internet connection. If your machine doesn’t have an Internet connection, then select your nearest location from the map and hit Continue to move forward.
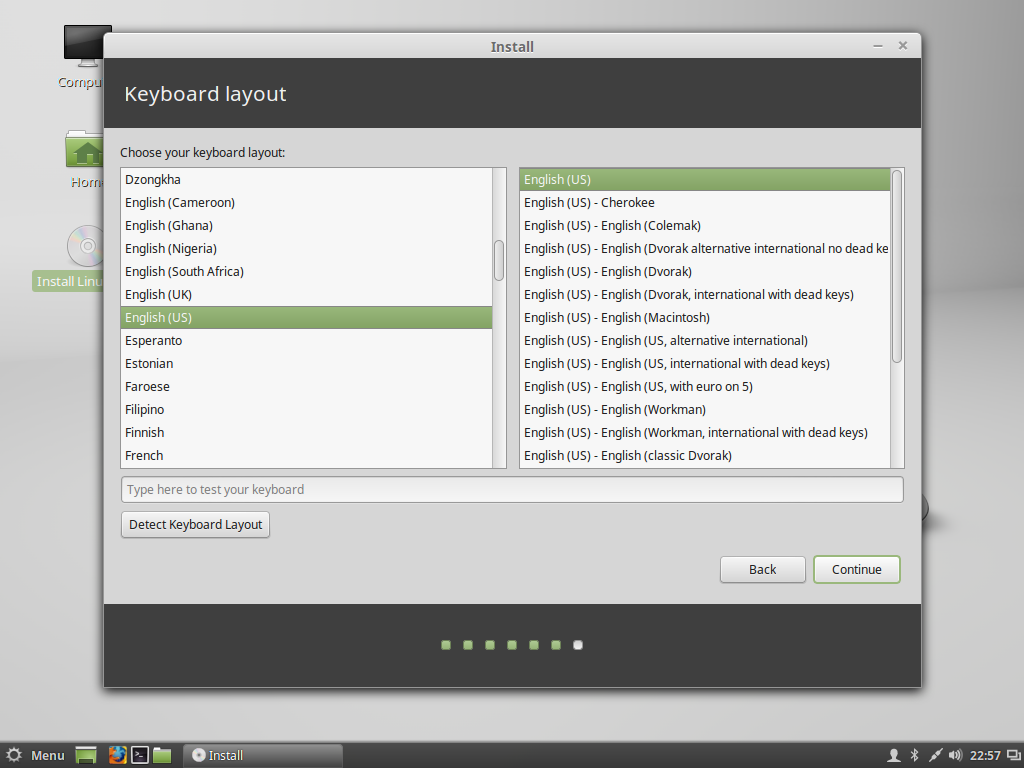
11. Next, select you favorite keyboard layout and click on Continue button to proceed further.
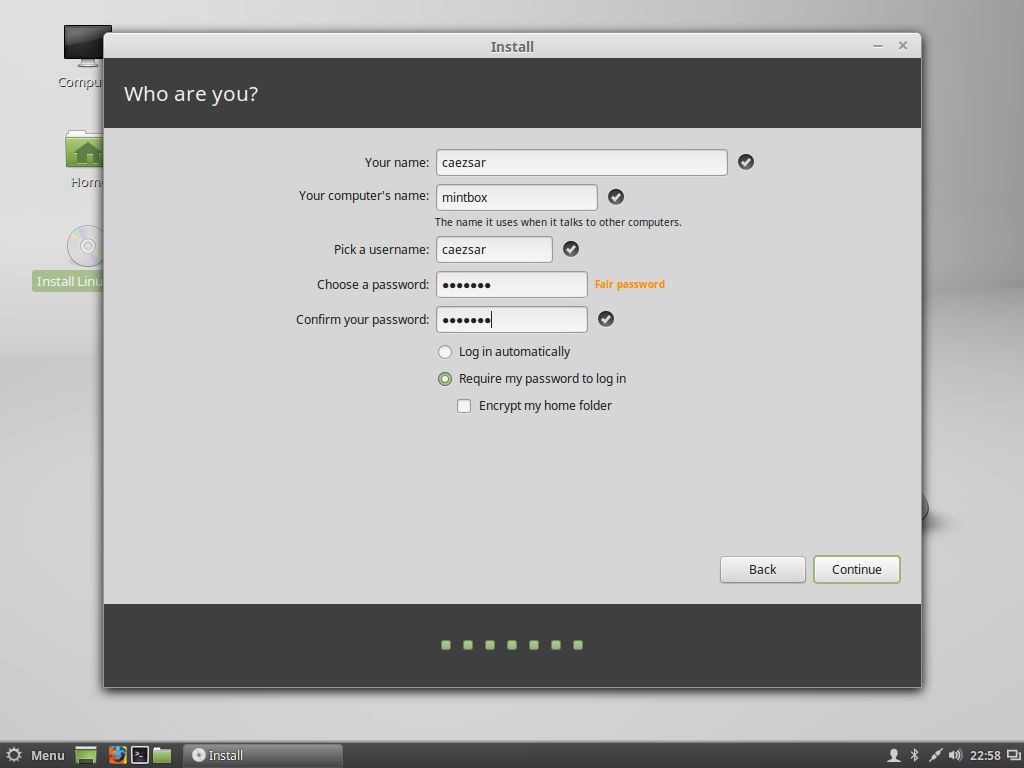
12. On the last step create the administrative user and choose a strong password in order to protect this account. Also, choose your computer’s name and select Require my password to log in, then click on Continue button and wait for the installation to finish.
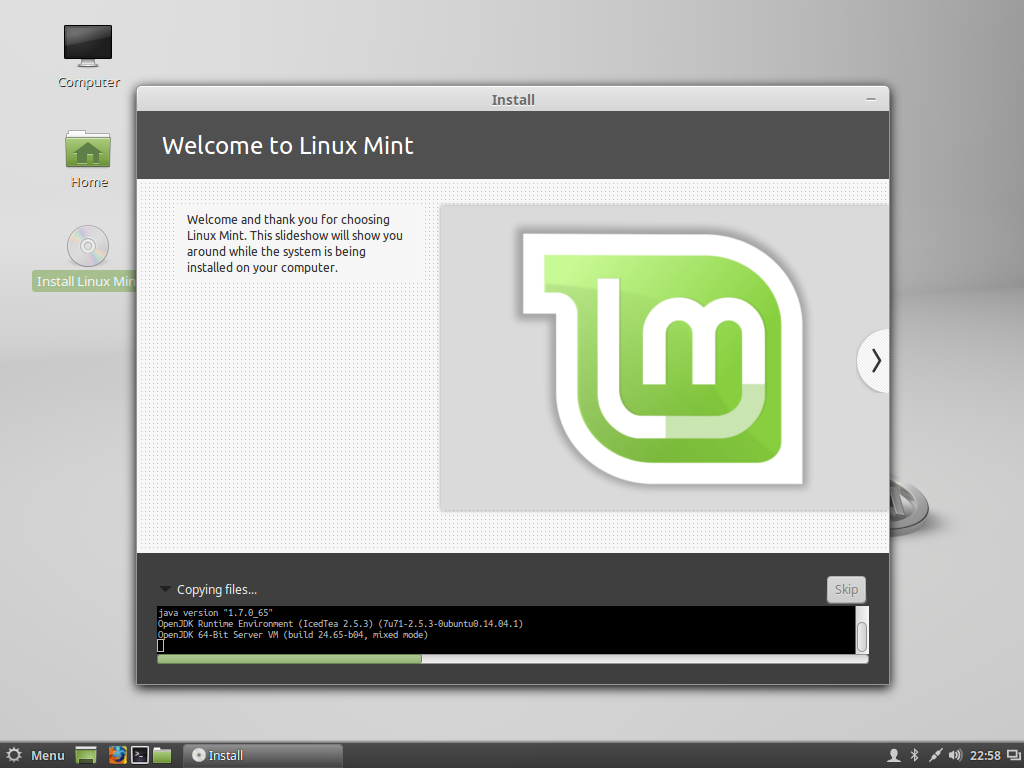
13. After the installation completes restart your machine in order to use Linux Mint.
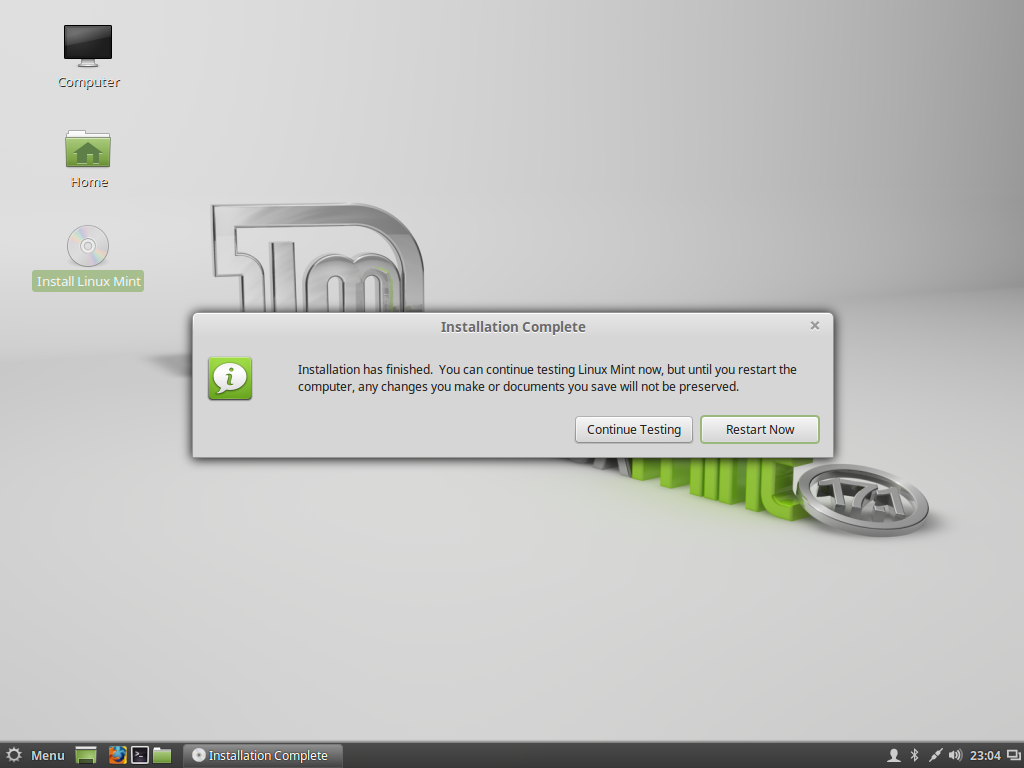
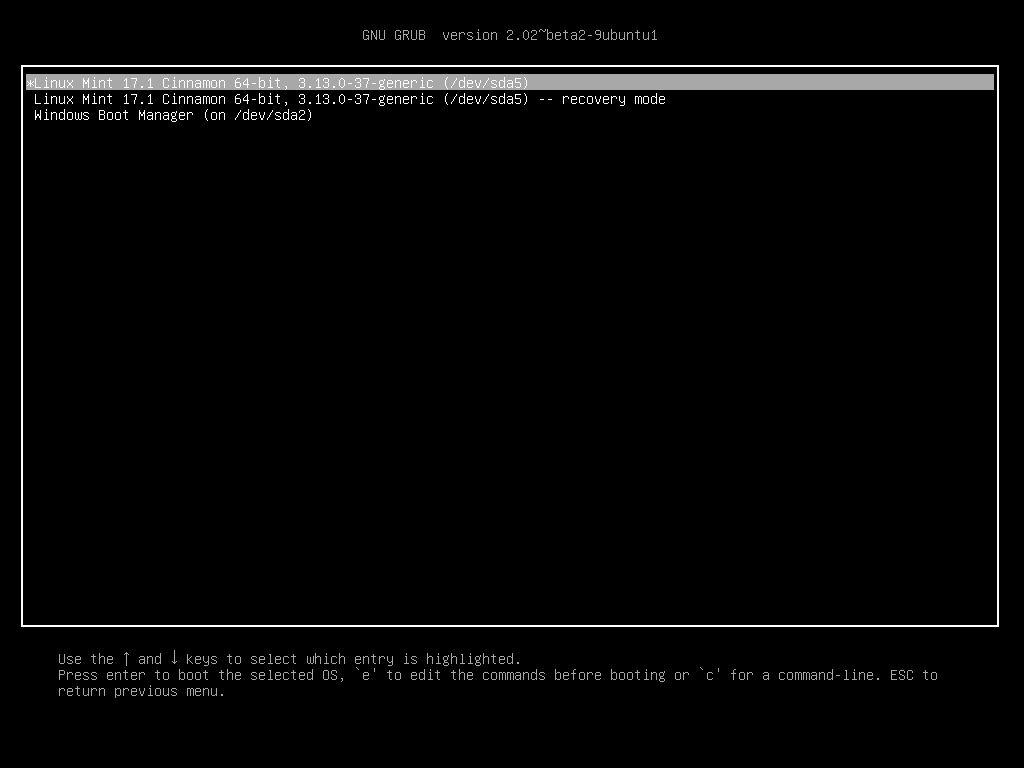
14. That’s all! Now you have installed Linux Mint 19.1 on your computer in dual-boot with Windows 10 on systems with UEFI firmware. From the Grub Menu select your favorite Operating System to boot – select Windows Boot Manager in order to start Windows 10.
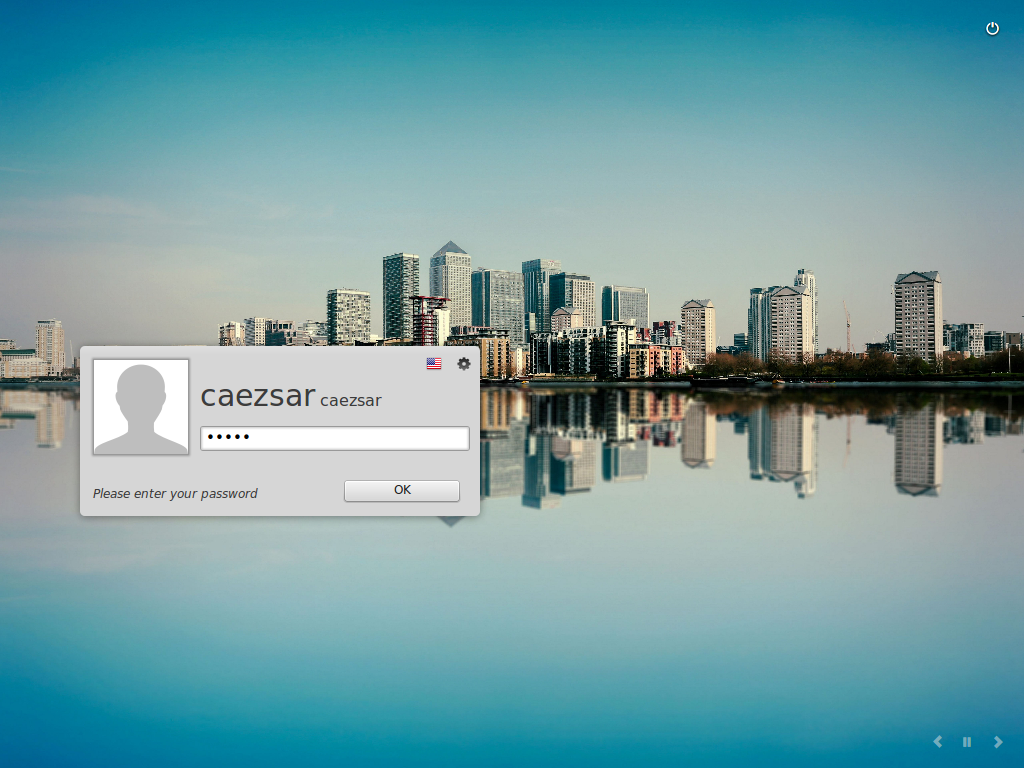
Select Linux Mint to start and log in with the credentials created on the installation process.
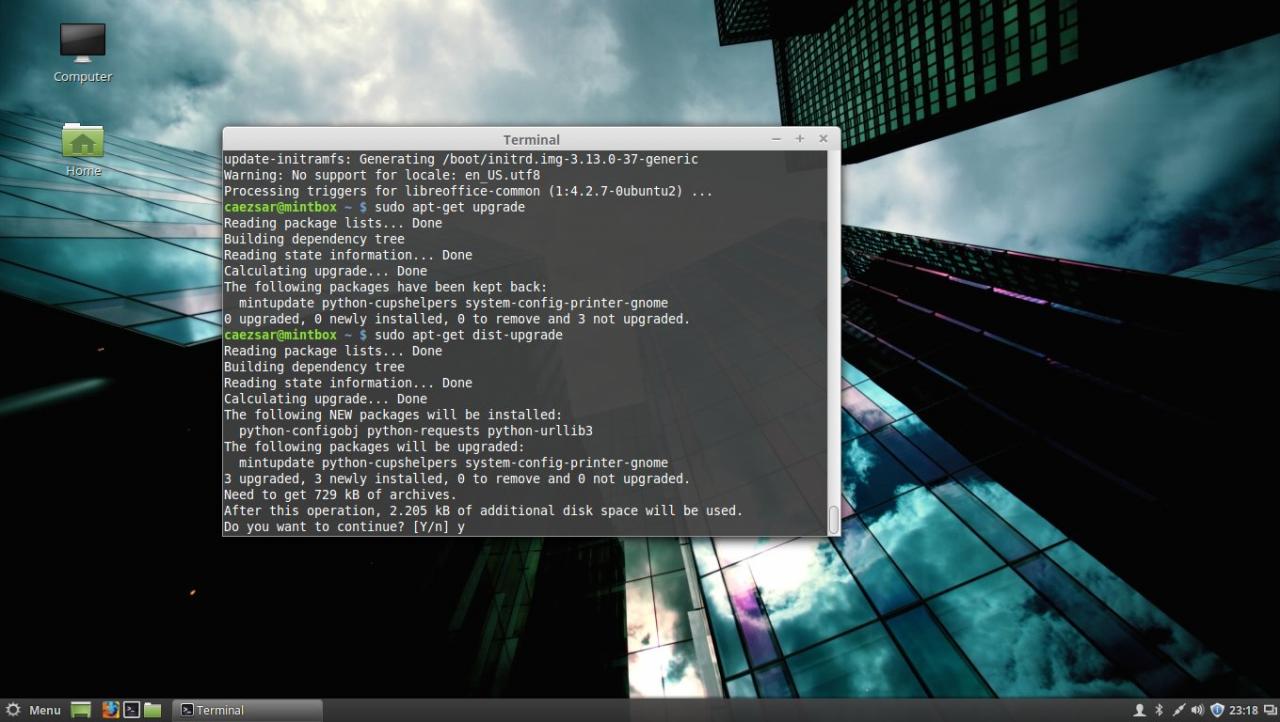
15. After you have successfully logged in Linux Mint open a Terminal and issue the following commands in order to update your system:
sudo apt-get update
sudo apt-get upgrade
sudo apt-get dist-upgrade
Although this tutorial was tested on virtualized UEFI environment under VMWare with Windows 10 installed on a smaller hard drive the same procedure can be used to install Linux Mint alongside other Windows versions, such as Windows 8.1, 8 or 7 but I do not guarantee that it will work for you 100 percent because UEFI boot up process depends on your machine UEFI firmware instructions.

